 how-to
What to Do When Your Dryer Breaks: A 2026 Guide
Table of Contents
- Immediate Steps When Your Dryer Breaks
- How to Troubleshoot a Dryer That Won't Start
- How to Air Dry Clothes Indoors
- Dryer Repair vs Replacement Cost: Making the Right Call
- Emergency Laundry Solutions While Your Dryer Is Down
- Preventing Mildew and Odors During Emergency Drying
- When to Call a Professional Repair Technician
- Conclusion
- Frequently Asked Questions
Last Updated: August 31, 2026
Immediate Steps When Your Dryer Breaks
When your dryer breaks, you face piles of damp laundry and uncertainty about repair costs. Many dryer issues aren't catastrophic, and some resolve in minutes. Understanding which category your problem falls into saves both time and money.
Safety First: Before You Inspect Anything
Unplug the dryer immediately. If it's hardwired, flip the breaker to OFF and wait a full minute before proceeding.
Check for visible damage. Look for scorch marks, melted plastic, or burning smells. If you see charring or detect burnt odor, do not troubleshoot. Call a professional immediately, this indicates electrical failure that risks fire and shock.
Verify the lint trap and exhaust vent are clear. A clogged exhaust vent is the most common cause of dryer malfunction and the easiest to fix yourself (the CDC). Pull out the lint trap and empty it completely, then check the external vent opening. This single step resolves roughly one in five "broken dryer" calls.
Check for Simple Fixes
Before assuming your dryer needs repair or replacement, run through this quick diagnostic in under five minutes.
Is the dryer plugged in and the breaker on? Check your outlet. If you have a hardwired dryer, verify the breaker hasn't tripped. If it has, flip it back on. If it trips again immediately, stop, this indicates an electrical fault requiring professional repair.
Is the door latch engaging? Close the door firmly. You should hear a distinct click. If the door doesn't latch properly, the dryer won't start as a safety feature. A broken door latch is relatively inexpensive to replace.
Are you using the correct cycle settings? Check that you've selected a heat setting and cycle duration. Some dryers require you to press a start button after selecting settings.
Is the moisture sensor clean? Inside the dryer drum, there's a small metal bar or rod, the moisture sensor. Lint buildup causes premature cycle completion or prevents the dryer from starting. Locate the sensor and wipe it clean with a dry cloth.
If none of these resolve the issue, you've moved into troubleshooting territory that requires more investigation.
How to Troubleshoot a Dryer That Won't Start
A dryer that won't start falls into one of two categories: electrical (power isn't reaching the motor) or mechanical (power is present, but something's blocking operation). Identifying which category applies narrows down your next steps significantly.
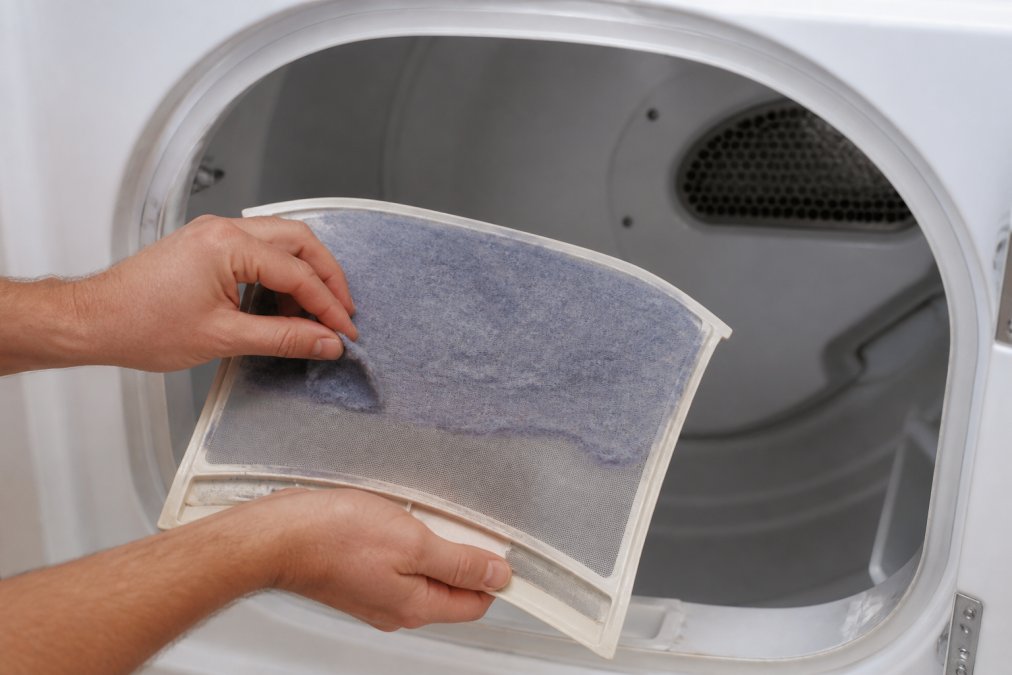
Lint Trap and Ventilation Issues
The lint trap and exhaust ventilation system are the first places to investigate and the most likely culprits when a dryer stops working.
Clean the lint trap thoroughly. A clogged lint trap is the single most common reason dryers malfunction. Remove the trap and empty it completely. If lint is packed tightly or matted, soak the trap in warm water for a few minutes and rinse it clean. Dry it completely before reinstalling.
Check the exhaust vent for blockages. Lint travels through the exhaust duct and can build up inside the vent line. Go outside and inspect the external vent opening. If the flap is stuck or blocked, clean it. If you have a flexible duct line, disconnect it and look inside. Use a vent cleaning brush or straightened wire coat hanger to dislodge lint buildup. If the duct is kinked or crushed, straighten or replace it, an inexpensive fix worth doing immediately.
Poor ventilation doesn't just cause malfunction. It increases energy consumption and creates a fire hazard.
Thermal Fuse and Heating Element Problems
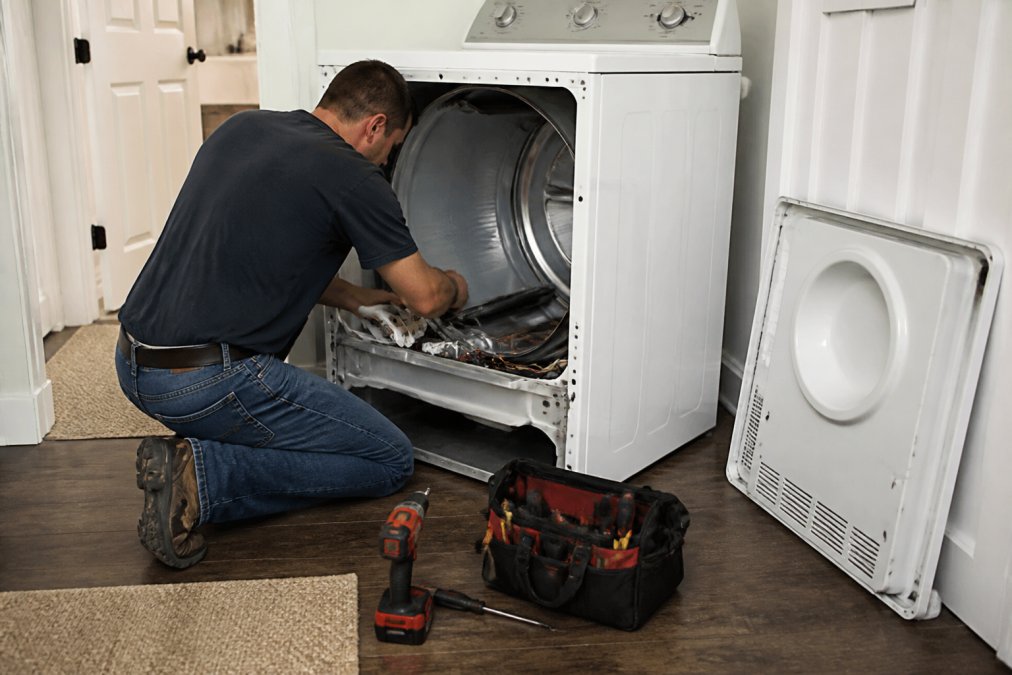
If ventilation is clear and the dryer still won't start, you're likely dealing with a thermal fuse or heating element failure. These components require professional repair.
The thermal fuse is a one-time-use safety device that melts if the dryer overheats. Once it blows, it cannot be reset, it must be replaced. If your dryer runs briefly then stops, or won't start at all, a blown thermal fuse is probable. A thermal fuse replacement costs between $150-$300 in labor and parts, depending on your dryer model and region.
The heating element generates the heat that dries your clothes. If it fails, the dryer may run but produce no heat, or it may not start at all. Heating element replacement typically costs $200-$400 including labor.
Both components require disassembling the dryer cabinet. If you're not experienced with appliance repair, calling a professional is the safer choice.
How to Air Dry Clothes Indoors
While you're troubleshooting or waiting for a repair appointment, you need a way to dry your clothes. Indoor air-drying is slower than machine drying, but it's reliable, costs nothing, and extends the lifespan of most fabrics.
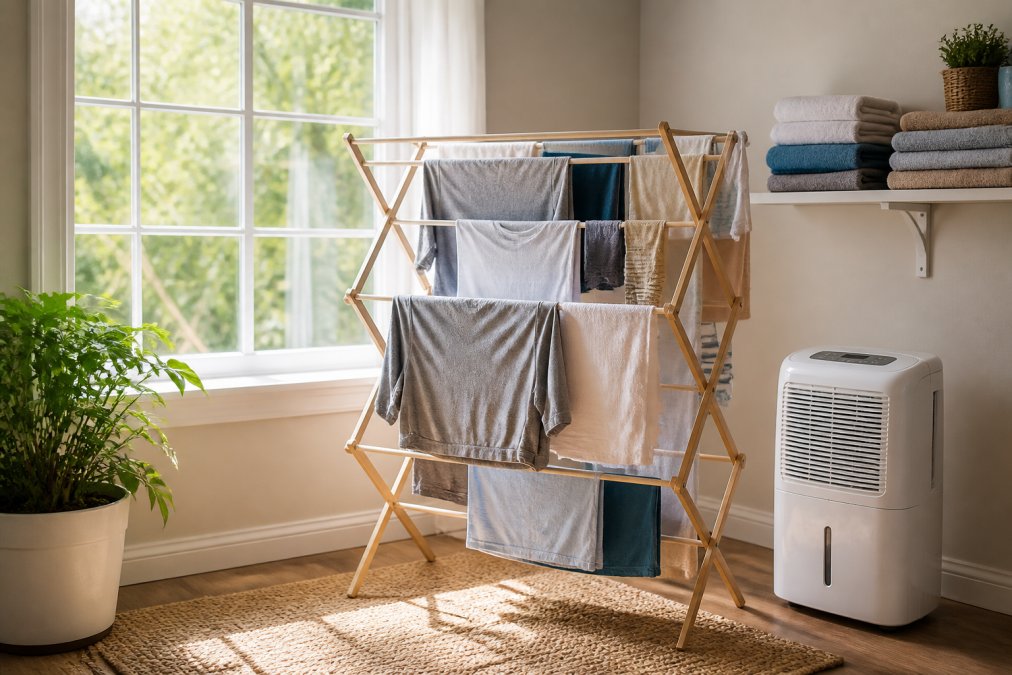
Drying Racks and Clotheslines
Drying racks are the most practical solution for indoor air-drying. They're inexpensive (typically $30-$80) and take up minimal space. Position your rack near a window or in a room with good air circulation. Sunlight accelerates drying and has natural antimicrobial properties. Hang items loosely rather than packing the rack tightly, clothes need air to flow around them.
Clotheslines work similarly but require more space and outdoor access. Outdoor drying is faster because of increased air circulation and sunlight.
Using Fans and Dehumidifiers to Speed Drying
Air circulation dramatically reduces drying time. A simple box fan or pedestal fan positioned near your drying rack can cut drying time in half. Set up a fan to blow across (not directly at) your drying rack to create general air movement in the room.
A dehumidifier accelerates drying further by removing moisture from the air. When humidity is high, wet clothes dry slowly. A dehumidifier creates a drier environment, allowing evaporation to happen faster. Combine a fan and dehumidifier for optimal results, this combination can reduce drying time to 8-12 hours for a typical load (energy.gov).
Fabric-Specific Drying Instructions
Not all fabrics tolerate machine drying equally. Some items actually benefit from air-drying.
Delicate fabrics (silk, linen, wool, athletic wear) should always air-dry. Machine heat damages these materials permanently. Hang them on a rack or clothesline, away from direct sunlight. These items typically dry in 12-24 hours.
Knits and stretchy items (sweaters, leggings, fitted clothing) should air-dry flat or on a rack. Machine drying causes shrinkage and stretching.
Heavy items (towels, jeans, bedding) take longer to air-dry but can handle it. These may take 18-36 hours to dry completely.
Air-drying is gentler on fabrics than heat. Your clothes will last longer.
Dryer Repair vs Replacement Cost: Making the Right Call
This decision point matters most. A broken dryer forces a choice: invest in repair, or replace the unit? The answer depends on your dryer's age, repair cost, and circumstances.
When Repair Makes Sense
Repair is the right choice if your dryer is relatively new and the repair cost is reasonable.
Age of the dryer: If your dryer is under 5 years old, repair typically makes financial sense. Parts are usually available, repair costs are predictable, and you'll likely get several more years of reliable operation.
Cost of repair vs. replacement: Get a repair quote before deciding. If the repair costs less than 50% of a new dryer's price, repair is usually better. If repair costs approach 75% of replacement cost, you're in a gray zone.
Type of failure: Some repairs are straightforward and inexpensive (lint trap, door latch, vent duct). Others are complex and costly (thermal fuse, heating element, motor).
Common repairs and typical costs (labor and parts combined):
- Lint trap or vent duct: $50-$150
- Door latch: $100-$200
- Thermal fuse: $150-$300
- Heating element: $200-$400
- Motor replacement: $300-$500
If your repair estimate is under $300 and your dryer is less than 7 years old, repair is almost always the better financial choice.
When Replacement Is the Better Option
Replacement makes sense if your dryer is older, the repair cost is high, or you want modern features and reliability.
Age of the dryer: If your dryer is over 10 years old, replacement is worth serious consideration. Older dryers are less efficient, more prone to failure, and parts become harder to source.
High repair cost: If the repair estimate exceeds $400-$500, you're approaching the cost of a budget new dryer. At that price point, replacement offers better value.
Recurring failures: If your dryer has failed multiple times in recent years, replacement is practical. Repeated repairs indicate the appliance is reaching the end of its lifespan.
Energy efficiency: Older dryers consume significantly more electricity than modern models. If you're running the dryer frequently, upgrading can reduce utility costs over time.
Fast Appliances LLC offers a comprehensive selection of reliable dryers with convenient online ordering and delivery. Whether you're replacing an older dryer or upgrading to a more efficient model, you'll find options that fit your needs and budget.
Emergency Laundry Solutions While Your Dryer Is Down
A broken dryer creates an immediate problem: you need clean, dry clothes. Laundromat drying is the fastest solution if you have access to one, typically costing $1-$3 per load. Drop-off laundry services are more expensive but save time. Ask friends or family with a dryer nearby, this is free and often the simplest solution. Portable electric dryers are available for rent ($20-$40 per week) and don't require venting, though they're slower than full-size dryers. Accelerate air-drying with a fan and dehumidifier to reduce drying time to 8-12 hours.
The best choice depends on your timeline and budget. If repair is imminent, air-drying or laundromat drying works. If replacement will take a week or more, a portable dryer rental might be worth the cost.
Preventing Mildew and Odors During Emergency Drying
When clothes take longer to dry, they're at risk of developing mildew and musty odors. Mildew grows in damp environments with poor airflow.
Ensure adequate airflow: Position a fan to keep air moving. Open windows if weather permits. A dehumidifier removes moisture from the air, making it harder for mildew to develop.
Don't let wet clothes sit: Move damp clothes to the drying rack immediately after washing. Leaving wet clothes in a washer or pile creates an oxygen-poor environment where mildew thrives.
Use a dehumidifier actively: If humidity is above 60%, mildew risk increases significantly (the EPA). A dehumidifier keeps humidity below 50%, which inhibits mildew growth.
If clothes develop a musty smell despite your efforts, rewash them in hot water with vinegar (1 cup per load) or an enzymatic laundry additive.
When to Call a Professional Repair Technician
Some dryer issues require professional expertise. Knowing when to call saves you time and prevents damage from DIY attempts.
Call a professional if:
- The dryer shows visible scorch marks, melted plastic, or any sign of electrical damage
- You smell burning or see smoke coming from the unit
- The dryer has power but won't start, and you've verified the door latch, outlet, and breaker
- The dryer runs but produces no heat
- You hear grinding, squealing, or other unusual mechanical sounds
- The dryer is still under warranty (attempting repairs yourself voids the warranty)
- You're uncomfortable working with electrical appliances
A professional technician can diagnose the exact problem, order the correct parts, and perform repairs safely. The cost of a service call is typically $75-$150 for diagnosis, plus parts and labor for repairs.
When you call a technician, have your dryer's model number ready. You'll find it on a sticker inside the door or on the back of the unit. Provide details about what the dryer is doing (or not doing) and any sounds or smells you've noticed.
Conclusion
A broken dryer is frustrating, but it's not a crisis if you approach it methodically. Start with safety, check the simple fixes, and assess whether repair or replacement makes sense for your situation. While you're deciding, air-drying with a fan and dehumidifier keeps you moving. If repair is the right choice, call a professional technician. If replacement is needed, Fast Appliances LLC offers a comprehensive selection of reliable dryers with convenient online ordering and delivery. Whether you're managing a temporary breakdown or upgrading to a new unit, you have practical solutions that work.
Frequently Asked Questions
Q: What should I do first when my dryer breaks?
A: Stop using the dryer immediately to prevent electrical hazards. Unplug it or switch off the breaker. Check the lint trap, exhaust vent, and power cord for obvious problems. If the dryer won't start, verify the door latch closes completely and the thermal fuse hasn't blown. For most homeowners, these basic checks reveal simple fixes before calling a technician.
Q: Is it worth repairing an older dryer or should I replace it?
A: Consider the dryer's age and repair costs. If your dryer is under 5 years old and the repair costs less than half the price of a new unit, repair typically makes sense. Older dryers with repeated failures, damage to the heating element, or a blown thermal fuse may justify replacement, especially if warranty coverage has expired. Compare long-term energy efficiency and reliability against upfront replacement costs.
Q: How do I dry clothes without a working dryer?
A: Air-drying indoors works best with proper ventilation and moisture control. Hang clothes on drying racks or clotheslines near windows or in well-ventilated rooms. Use fans to circulate air and a dehumidifier to remove excess moisture, which speeds drying and prevents mildew. For delicate fabrics, lay items flat on clean towels. Laundromats and emergency laundry services offer temporary solutions while your dryer is being repaired or replaced.
Q: What are the most common reasons a dryer stops working?
A: The thermal fuse is the most frequent culprit, it blows when the dryer overheats, usually from a clogged lint trap or blocked exhaust vent. Other common issues include a faulty heating element, broken door latch, or failed drum bearing. Lint buildup in the ventilation system reduces airflow and forces the dryer to work harder, accelerating component failure. Regular appliance maintenance, cleaning the lint trap after each cycle, and inspecting the exhaust vent monthly prevent most breakdowns.
This article was written using GrandRanker