 how-to
How to Prepare Your Home for Appliance Delivery
Table of Contents
- Start With a Room-by-Room Appliance Delivery Checklist
- How to Measure for Appliance Delivery: Width, Height, Depth, and Every Turn
- Clear the Path: Doorways, Hallways, Ceilings, Stairs, and Turns
- Prepare the Installation Area and the Existing Appliance for Removal
- Utility Disconnection and Safety Precautions Before Delivery Day
- Appliance Delivery Instructions: Access, Parking, Elevators, and Timing
- Preparing for Refrigerator Delivery: A Step-by-Step Walkthrough
- Delivery Scope, Fees, Damage Inspection, and What to Do Next
- Frequently Asked Questions
Last Updated: October 12, 2026
Start With a Room-by-Room Appliance Delivery Checklist
Preparing your home for appliance delivery starts with one step: walk your house and write down what has to move, be measured, and be cleared. This guide breaks that work into a room-by-room checklist you can finish in an afternoon.
Here is the short version of what every delivery needs:
- A clear path from the front door to the installation spot
- Accurate measurements of the space and the doorway
- Empty counters, shelves, and floors around the install area
- Old appliances emptied, unplugged, and ready to leave
- A parking spot or building access plan for the crew
Two things trip people up most: guessing at measurements and forgetting the path. A refrigerator that fits the kitchen still fails if it cannot clear the stairwell turn.
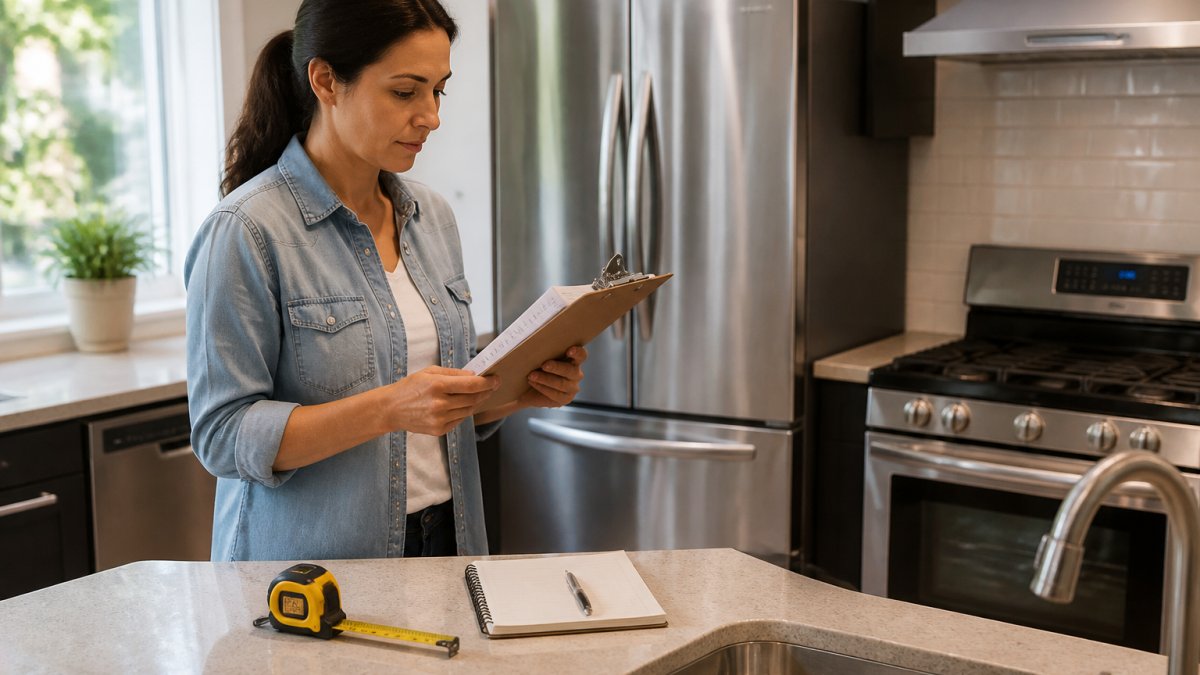
How to Measure for Appliance Delivery: Width, Height, Depth, and Every Turn
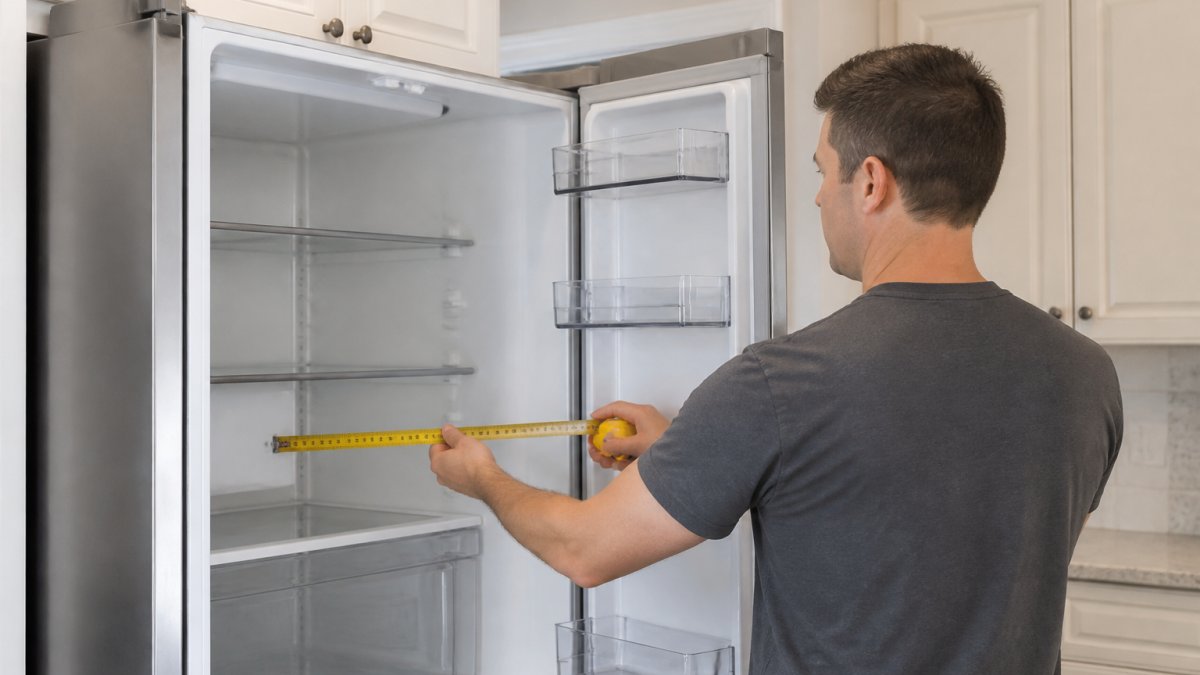
To measure for appliance delivery, record four numbers: opening width, opening height, available depth, and clearance to the nearest wall or cabinet, then measure the same four along the route.
For a refrigerator, leave a small gap on each side for airflow and door swing. For a range, check that the cutout matches the footprint and the oven door opens without hitting a cabinet.
Next, measure the route:
- Doorway clearance: the narrowest doorway between the entry and the room
- Hallway clearance: the tightest point in any corridor
- Ceiling clearance: low beams, light fixtures, and door headers
- Stairway and landing: width plus the turn at the top or bottom
- Final turn: the angle into the room where the appliance lands
Write each number down. We recommend comparing it against the product spec sheet before you order, not after.
The FTC's guidance on buying appliances is a useful reminder to confirm what you are buying before it ships.
Clear the Path: Doorways, Hallways, Ceilings, Stairs, and Turns
Clearing the path means removing everything between your front door and the installation spot before the crew arrives: furniture, rugs, pet bowls, floor lamps, and anything hanging low.
Work backward from the room, dining chairs, console table, runner rug, and plan for any light fixture hanging below the appliance height. On stairs, clear both the steps and the landing; crews need room to pivot a heavy box, and clutter turns a five-minute carry into a twenty-minute problem.
A few more items to handle:
- Remove wall art or mirrors along the route
- Tape down or remove loose rugs near the entry
- Move pets and small children to a closed room
- Clear a spot outside for the truck to stage the appliance
Prepare the Installation Area and the Existing Appliance for Removal
Readying the installation area means emptying the old appliance, clearing the counters and shelves around it, and disconnecting it from power and water before the crew knocks.
Refrigerator. Empty it the day before so it can defrost and dry. Toss perishables, pack what you can into coolers, and wipe down the interior. Pull out shelves and drawers you want to keep.
Washer. Run a final short cycle with no clothes, then unplug the unit. Close both supply valves and disconnect the hoses. Water stays trapped in the hoses and pump, so drain them into a bucket.
Dryer. Empty the lint trap and drum. Unplug an electric dryer, or shut off the gas valve for a gas model and leave the connection to a licensed technician.
Range or oven. Remove the oven racks, broiler pan, and anything in the warming drawer. Unplug an electric range or flip its breaker.
Dishwasher. Empty the racks and silverware basket. Turn off the water supply under the sink and flip the dishwasher breaker.
Microwave or over-the-range unit. Clear the counter below and cabinets beside it.
Clear the surrounding space in every case:
- Counters above and beside the appliance
- Shelves inside cabinets near the cutout
- Floor space in front of the unit
- Items stored on top of the fridge or dryer
- Baseboards and trim along the carry path, which snag on appliance corners
If you ordered haul-away, the old appliance leaves with the crew. Confirm that when you place the order, because not every delivery includes removal.
Utility Disconnection and Safety Precautions Before Delivery Day
Disconnecting utilities safely means shutting off power at the breaker, closing the water valve, and leaving gas lines to a licensed technician. Never cap or reconnect a gas line yourself.
For an electric range or dryer, unplug the unit or flip the breaker. For a washer, close the supply valves and disconnect the hoses. Keep a towel handy; some water always remains in the line.
For a gas range or dryer, shut the gas valve if you can reach it safely, then stop. Reconnection is a job for a qualified professional. The U.S. Consumer Product Safety Commission publishes safety guidance on gas appliances that is worth a read before delivery day.
A short safety list:
- Turn off the breaker for the appliance circuit
- Close the water supply valves
- Have a bucket and towels ready
- Keep children and pets away from the work zone
- Never disconnect a gas line on your own
Appliance Delivery Instructions: Access, Parking, Elevators, and Timing
Delivery instructions should cover access, parking, elevators, and timing in one note you give the crew. Clear instructions prevent the most common delivery-day delays, especially building access and vertical transport.
Parking and truck access. A straight truck is roughly 26 feet long and 12 to 13 feet tall, so low branches, overhead wires, and tight alley turns can block it.
Driveways and walkways. Clear the driveway of bins, carts, and parked cars the night before. Sweep leaves or gravel off a sloped walkway; crews will not carry a 300-pound refrigerator up a slick incline.
Apartments and condos. This is where most delivery-day problems start. Reserve the freight elevator in writing if your building has one, and confirm the window matches your appointment.
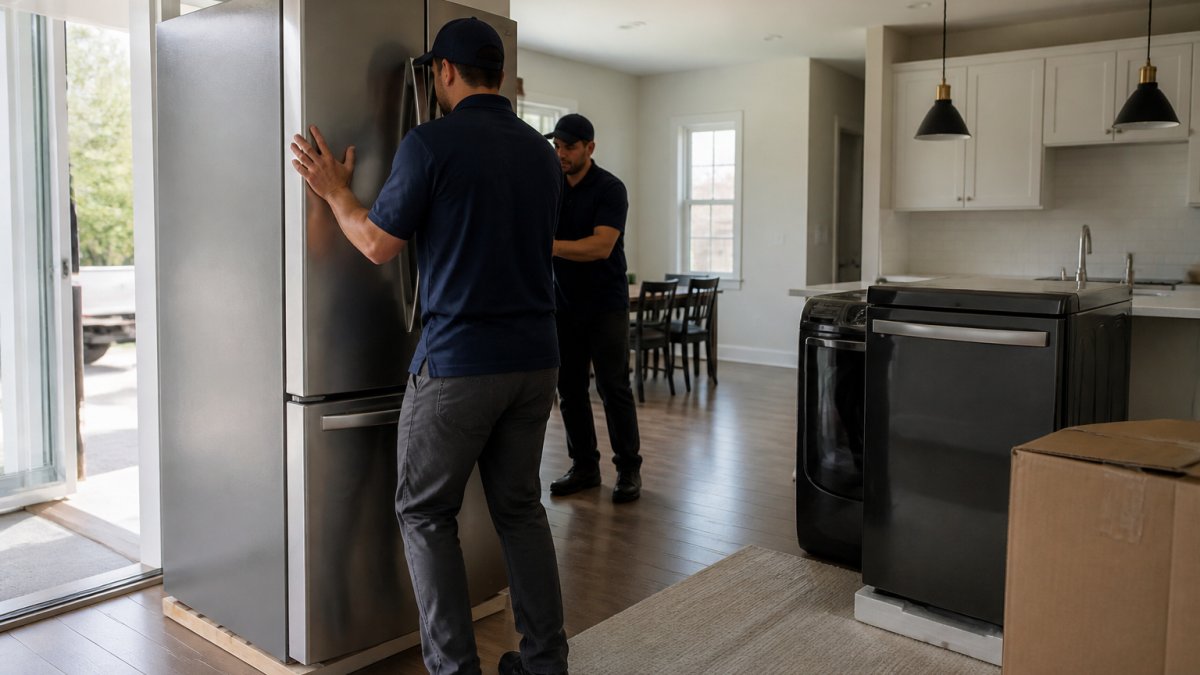
Stairs and interior turns. Count the flights and note landings, switchbacks, or narrow turns. A standard interior door is about 30 to 32 inches wide; a refrigerator box is often wider, so the crew may need to remove doors and hinges. If a handrail narrows the stairwell clearance, mention it.
Timing and coordination. Confirm your delivery window and stay home for it. Most carriers give a window rather than an exact time, and routes are planned in advance, so rescheduling is easiest if you call early.
Include these details in your instructions:
- Gate codes, buzzer numbers, and building entry steps
- Elevator reservation times and freight elevator access
- Parking location and any towing risk
- Stair or hallway limits inside the building
- A phone number to reach you on delivery day
- Any insurance certificate the building requires
Preparing for Refrigerator Delivery: A Step-by-Step Walkthrough
Preparing for refrigerator delivery follows the same rules as any appliance, but the size makes every step matter more. A fridge is the heaviest and bulkiest item most homes receive.
Here is the walkthrough:
- Measure the space. Record width, height, and depth, plus the door swing.
- Measure the route. Check every doorway, hallway, stair, and turn.
- Clear the path. Remove furniture, rugs, and low-hanging fixtures.
- Empty the old fridge. Move food to coolers and wipe it down.
- Disconnect power and water. Unplug the unit and close the water valve for the ice maker.
- Protect the floors. Lay down cardboard or a mat along the carry path.
- Confirm the delivery window. Be home and keep your phone on.
- Inspect on arrival. Check for dents, scratches, and door alignment before signing.
The last step is the one people rush. Take five minutes, and check the appliance before the crew leaves.
Delivery Scope, Fees, Damage Inspection, and What to Do Next
Delivery scope, fees, and damage inspection decide whether delivery day goes smoothly. Confirm all three before you order.
Scope means what the crew will and will not do. Basic delivery drops the appliance at your door. White-glove delivery unpacks it, moves it into place, and may connect it. Setup and removal are often separate line items, so read the order carefully.
Fees can include:
- Stair carries above a certain floor
- Haul-away of the old appliance
- Extra connections or parts
- A second trip if access is blocked
Inspect the appliance before you sign. Note any dents or scratches on the delivery paperwork, photograph the damage, and report issues the same day. That record makes a replacement or refund claim simple instead of painful.
If something looks off, here is the fix:
| Problem | Quick Fix | Why It Matters |
|---|---|---|
| Appliance won't fit | Re-measure the route, not just the space | Saves a return and a second delivery fee |
| Damage found | Photograph it and note it on the paperwork | Supports a fast claim |
| Old unit not removed | Confirm haul-away was on the order | Avoids a surprise fee or a stranded unit |
| Utility not ready | Have power and water prepped before arrival | Prevents a failed install |
The U.S. Department of Energy's appliance resources can help you understand efficiency ratings when you pick your next unit.
Delivery day rarely goes wrong because of the appliance. It goes wrong because the path was tight, the old unit was still full, or nobody confirmed what the crew would actually do. Fast Appliances LLC offers a wide variety of home appliances, from washers and dryers to refrigerators, stoves, microwaves, dishwashers, cooktops, and ovens, with convenient home delivery. Check each product page for included services, then get started with Fast Appliances LLC and have your kitchen or laundry room ready before the truck arrives.
Frequently Asked Questions
What should I write in appliance delivery instructions?
Include the gate or door code, parking restrictions, elevator access rules, and any stairs or tight turns the crew will face. Note where to enter, whether pets will be secured, and a phone number that reaches you on delivery day. If you have a narrow hallway or a sharp corner, say so up front. Clear appliance delivery instructions reduce delays and prevent damage to walls, floors, and the new appliance.
Do I need to disconnect my old appliance before delivery?
In most cases, no. Disconnecting a gas range, hardwired oven, or dishwasher requires a licensed technician. For electric and water connections, ask the retailer whether disconnection is included. If it is not, hire a qualified professional. Never disconnect a gas line yourself. Confirm the scope of your delivery and installation service before the truck arrives.
How do I measure doorways and hallways for appliance delivery?
Measure the narrowest point of every doorway, hallway, stairway, and turn along the delivery route. For doorways, record the width between the frame and the height from floor to top of the opening, then subtract 1 to 2 inches for door trim and hinges. For turns, measure the diagonal clearance. Compare these numbers against the appliance dimensions plus packaging. If any measurement is too tight, request a site survey or choose a smaller model.
What should I check before signing for a delivered appliance?
Inspect the appliance for dents, scratches, cracked glass, or torn packaging before signing. Plug it in or run a test cycle if the crew allows it. Confirm the model number and color match your order. If you find damage, note it on the delivery receipt and photograph it before the crew leaves. Report the issue to the retailer the same day. Documenting damage at delivery makes replacement or repair claims much easier to resolve.