 how-to
How to Install Stackable Washer Dryer Sets Safely
Last Updated: October 31, 2026
Quick Summary
To install stackable washer dryer sets, confirm both units are stackable front-load models, buy the model-specific kit named in both owner's manuals, and lift the dryer onto the mounted kit with two people. Then lock the dryer feet into the brackets, reconnect water, drain, power and vent, and level the stack.
- Top-load washers cannot be stacked, and the kit must name both the washer and dryer models.
- A typical stacked pair reaches roughly 70 to 80 inches tall, so measure ceiling height and doorways first.
- Photograph your hookups before disconnecting anything so you have a reconnect map.
- Expect the full job to take about one to two hours with two people, including testing.
- Run a test washer cycle with no clothes and check the exterior vent for strong airflow.
Table of Contents
- Before You Stack: Compatibility and Safety Checks
- Washer and Dryer Stacking Kit Installation: Choosing the Right Kit
- Stackable Washer and Dryer Dimensions and Room Prep
- Step-by-Step Installation: Disconnect, Stack, and Secure
- How to Level a Stacked Washer and Dryer
- Washer and Dryer Installation Time and Final Testing
- Troubleshooting and When to Call a Professional
- Order Your Stackable Set From Fast Appliances LLC
- Frequently Asked Questions
Before You Stack: Compatibility and Safety Checks
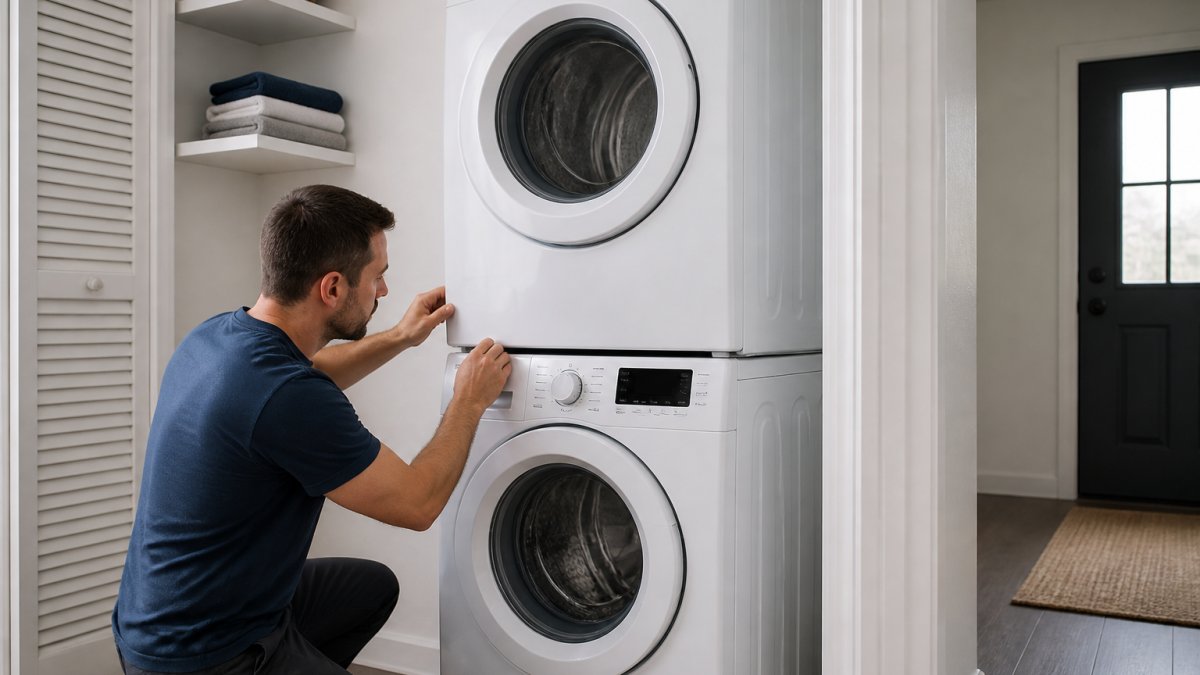
Learning how to install stackable washer dryer sets starts with one hard truth: not every pair can be stacked. Stacking works by placing the dryer on a mounting kit above a front-load washer, and both units must be designed for it. Get this wrong and you risk a tipped machine, a flooded floor, or a voided warranty. Check compatibility before you unplug anything.
Confirm Your Models Are Stackable
Only front-load washers with a flat, reinforced top can carry a dryer. If you would rather skip stacking altogether, consider an LG Washcombo Washer Dryer. Check the model plate inside the door or on the back panel. You are looking for two things: a "stackable" note in the specs and a matching stacking kit listed for that exact model. Top-load washers cannot be stacked.
Read the Owner's Manual First
The owner's manual is the only document that tells you the truth about your specific machines. It lists the approved stacking kit, the maximum dryer weight, and any clearance rules. A common mistake is trusting a sales page over the manual. The manual wins every time.
If you are weighing whether stacking is right for you at all, our front load vs top load washer comparison lays out the pros and cons, since only some setups stack. And if you bought used units, run through our used appliance inspection checklist before you put one machine on top of another.
Washer and Dryer Stacking Kit Installation: Choosing the Right Kit
The right stacking kit is model-specific, not universal. Manufacturers design kits with brackets, support rails, and fasteners that match the footprint and screw holes of a particular washer-dryer pair. A generic kit from a hardware store may look close, but "close" is how dryers walk off washers. The fastest way to avoid that mistake is to run a model-number lookup before you buy anything.
The Model-Number Lookup Workflow
Do this in order. It takes about ten minutes and prevents the most common stacking failure.
- Find both model plates. The washer plate is usually inside the door opening or on the back panel; the dryer plate is often inside the door or on the rear frame. Write down the full model number, not just the brand and series.
- Open the owner's manual for each unit and find the "stacking" or "accessories" page. It will name the approved kit by part number.
- Cross-check the two manuals. The kit listed for the washer must also list your exact dryer model. If the washer manual names a kit but the dryer manual does not list that kit, the pair is not approved to stack.
- Search the manufacturer's accessory page by both model numbers. Most brands publish a compatibility lookup where you enter the washer and dryer model and it returns the correct kit part number.
- Confirm the kit part number matches what the retailer is selling. Kit part numbers change by revision; a kit that fits last year's model may not fit this year's.
What the Kit Usually Includes
- Mounting brackets that lock the dryer feet in place
- Support rails or a base frame
- Screws and fasteners sized for the washer top
- A template or marking guide for hole placement
Compatibility Checklist
Use this before you order:
- Both units are front-load or stackable by design (top-load washers cannot be stacked)
- Washer model number recorded
- Dryer model number recorded
- Kit part number found in both manuals
- Kit part number matches the retailer listing
Watch out: using a kit that does not list your exact dryer model is the single most common cause of post-install vibration and movement. If the kit box does not name your dryer, keep looking.
Stackable Washer and Dryer Dimensions and Room Prep
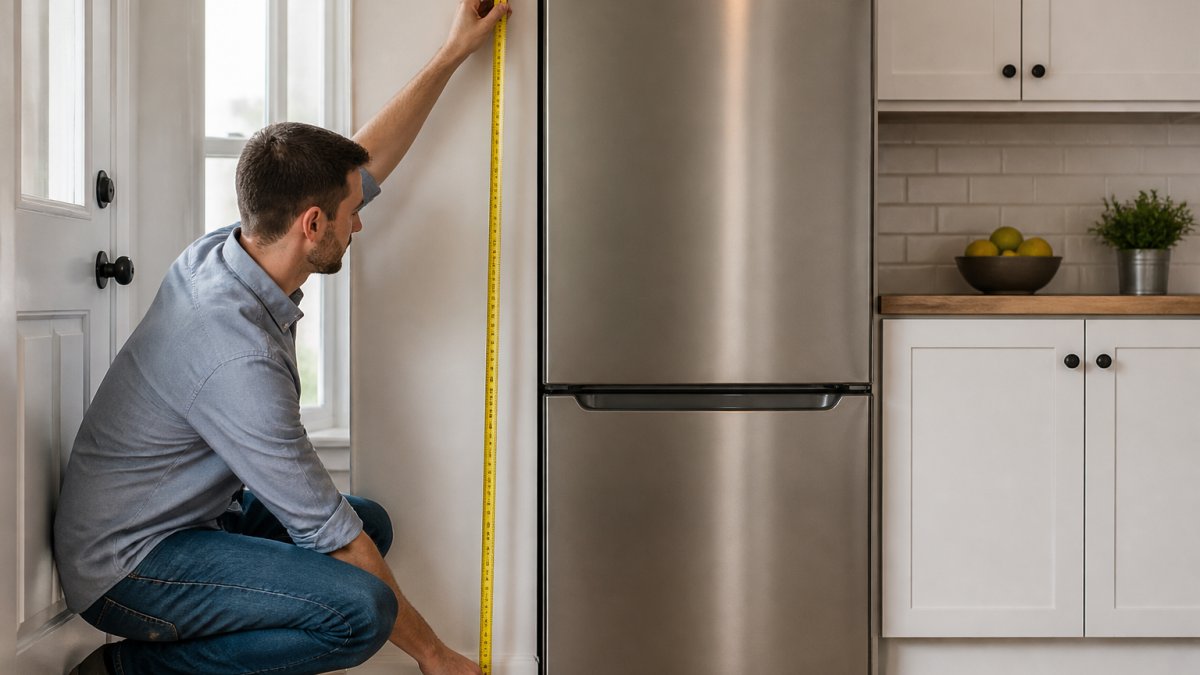
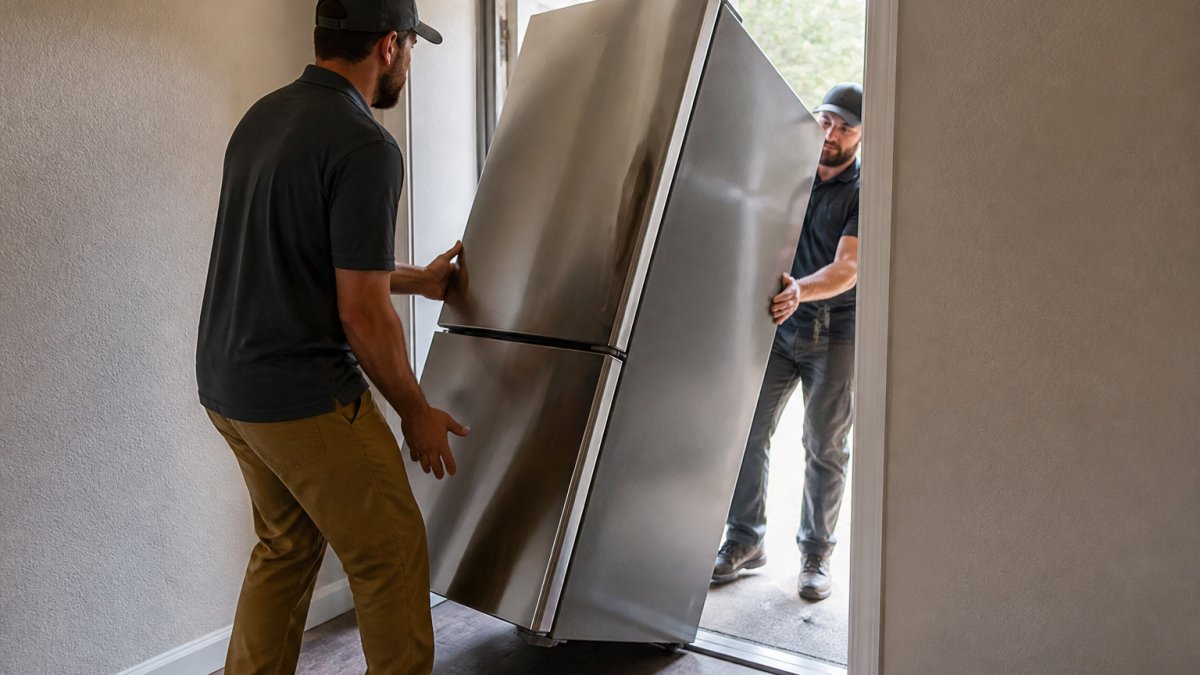
Stackable units save floor space, but they need vertical room. A typical stacked pair reaches roughly 70 to 80 inches tall, depending on the models and the kit. Measure your ceiling height, door width, and hallway turns before delivery day. A machine that fits the laundry room but not the doorway is a problem you cannot solve with a wrench.
Measurements, Clearances, and Hookup Requirements
Grab a tape measure and a notepad. You need four numbers: total stacked height, width, depth, and the space behind the units for hoses and the vent.
| Check | What to Measure | Why It Matters |
|---|---|---|
| Height | Floor to ceiling, minus 1-2 in | Room to lift the dryer onto the kit |
| Width | Opening plus door swing | Clearance to slide the washer in |
| Depth | Wall to front, plus 4-6 in | Space for hoses, cord, and vent |
| Hookups | Water, drain, power, vent | Must reach without strain |
Connection-by-Connection Hookup Checklist
Which hookups apply depends on the dryer type. Use this to confirm what your setup actually needs before delivery day.
Washer (all setups)
- Hot and cold water supply lines with shutoff valves within reach of the hoses
- Drain standpipe or laundry sink within hose reach; standpipe height per the manual
- Grounded electrical outlet on a dedicated circuit (check the manual for amperage)
Electric dryer
- 240-volt outlet matching the dryer's plug type (three-prong vs. four-prong)
- Dedicated circuit sized per the manual
Gas dryer
- Gas supply line with a shutoff valve; connection must be made by a qualified technician
- Grounded 120-volt outlet for the dryer's controls and drum
Vent (all dryer types)
- Short, clean exhaust duct that reaches the exterior
- No crushed or kinked sections behind the stacked pair
- Vent elbow included with the kit if the rear clearance is tight
Room-Readiness Checklist
- Ceiling height clears the stacked pair plus lifting room
- Doorway and hallway turns clear the washer's width
- Floor is level and can carry the stacked load
- Shutoff valves are accessible after the units are in place
- Dryer vent path is short and unobstructed
Your hookups matter as much as your measurements. You need a grounded power supply, hot and cold water supply lines with shutoff valves, a drain hose that reaches the standpipe, and a dryer vent with a short, clean exhaust duct.
Planning a full laundry room refresh? Our washer and dryer buying guide covers capacity, top versus front load, gas versus electric, and stacking in one place.
Step-by-Step Installation: Disconnect, Stack, and Secure
Here is the sequence we recommend. Set aside a clear work area and get a second person before you lift anything.
- Unplug both units and shut off the water supply valves.
- Disconnect the water hoses, drain hose, and dryer vent. Have a towel ready for leftover water.
- Move the washer into its final position and check the floor is level.
- Attach the stacking kit to the washer top using the template and fasteners.
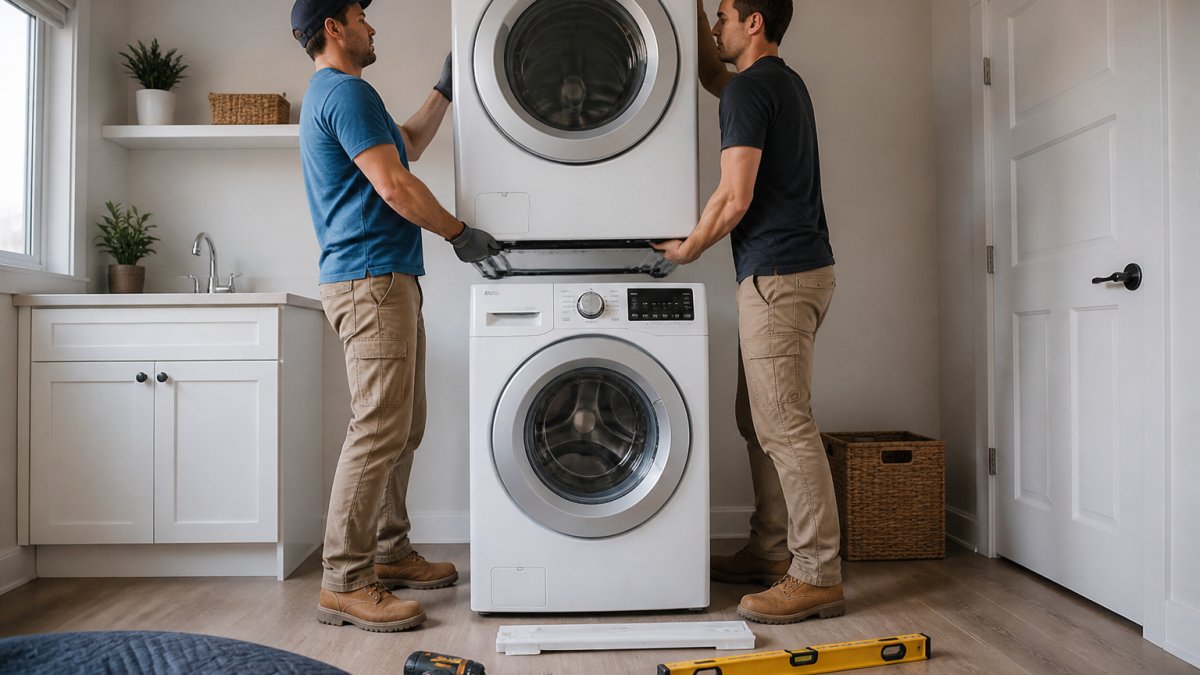
- Lift the dryer onto the kit with two people. Never lift alone, and never lift by the door.
- Lock the dryer feet into the brackets and tighten all fasteners.
- Reconnect water, drain, power, and vent, checking each connection by hand.
How to Level a Stacked Washer and Dryer
Leveling is where most installs go wrong. A stacked pair sits higher and carries more weight up top, so a small tilt becomes a big shake. Use a spirit level on the top of the dryer, front to back and side to side.
Press down on opposite corners of the dryer. If it rocks, keep adjusting. A stable stack runs quiet. A wobbly stack walks, rattles, and stresses the kit.
Washer and Dryer Installation Time and Final Testing
Expect the full job to take about one to two hours with two people, including disconnects, stacking, and testing. Rushing the reconnect step is how leaks happen.
Run a test cycle on the washer with no clothes. Watch the hoses and drain for leaks, and listen for unusual noise or vibration. Then run the dryer for a few minutes and feel for strong airflow at the exterior vent.
Troubleshooting and When to Call a Professional
Most post-install problems have simple fixes. Match the symptom to the cause before you panic.
| Symptom | Likely Cause | Fix |
|---|---|---|
| Vibration or walking | Feet not level or locked | Re-level and tighten feet |
| Water leak | Loose hose connection | Recheck washers and fittings |
| Dryer runs hot, clothes damp | Clogged or kinked vent | Clean or reroute the duct |
| Rattling noise | Loose kit fasteners | Tighten brackets and screws |
Call a professional for gas connections, new electrical circuits, or any vent work you are unsure about. Gas line work is not a DIY job. If your stacked pair still shakes after re-leveling, or your floor flexes under the load, stop and get an expert opinion.
Order Your Stackable Set From Fast Appliances LLC
Choosing the right machines is half the battle. Fast Appliances LLC offers a wide variety of home appliances, with convenient online ordering. You can also shop a washer and dryer set and get your laundry room running again.
Frequently Asked Questions
Can you stack any washer and dryer?
No. Both units need to be stackable models, and the dryer must be designed to sit above the washer. Front-load washers are the standard choice because their controls stay reachable when stacked. Check the owner's manual for both machines and confirm the manufacturer lists them as a compatible pair. Stacking a non-stackable dryer can void the warranty and create a tipping hazard, especially during the spin cycle.
Do you need a stacking kit to stack a washer and dryer?
Yes, in almost every case. A washer and dryer stacking kit installation uses model-specific brackets or rails that lock the dryer to the washer and keep it from sliding or tipping. Some units ship with a kit included, but most require a separate purchase. Using a generic kit or skipping it entirely risks vibration damage, water line stress, and a dryer that walks off the top of the washer over time.
How do you level a stacked washer and dryer?
Place a spirit level on top of the stacked pair and adjust the washer's front leveling feet first, since everything above depends on that base. Turn the feet by hand or with a wrench until the bubble centers front to back and side to side. Lock the feet with the jam nuts, then recheck after the first test cycle. A level base is the single biggest factor in reducing vibration and noise.
Can one person install a stackable washer and dryer?
Hookup work can be done solo, but lifting the dryer onto the washer should always be a two-person job. Dryers typically weigh well over 100 pounds, and lifting one above chest height alone risks injury and damage to the machine or floor. If you do not have help, schedule professional delivery and installation. Budget roughly two to four hours for the full job with two people.
Stacking a washer and dryer is a two-person job with a few unforgiving steps: the right kit, a level floor, and tight connections. Fast Appliances LLC makes the buying part simple, with a broad online selection of washers, dryers, and appliance sets and direct delivery to your home. Get started with Fast Appliances LLC and set up a laundry room that runs quiet and dry from day one.