 how-to
How to Install a Refrigerator Water Line Step by Step
Table of Contents
- Tools, Materials, and the Right Refrigerator Water Line Kit
- Best Tubing for a Refrigerator Water Line: Copper vs Plastic vs Braided Stainless Steel
- Step 1: Shut Off the Water and Power, Then Find Your Cold-Water Supply
- Step 2: Connect the Line to the Shutoff Valve and Route It to the Refrigerator
- Step 3: Connect the Line to the Refrigerator and Check Every Fitting for Leaks
- Step 4: Flush the Line, Power Up, and Test Water Flow
- Refrigerator Water Line Installation Cost and Local Code Requirements
- Frequently Asked Questions
Last Updated: October 4, 2026
Tools, Materials, and the Right Refrigerator Water Line Kit
A complete refrigerator water line kit is the fastest route for most homes, bundling the tubing, fittings, and valve in one box.
Here is what belongs in a complete kit:
- Water tubing in the correct length, usually 6 to 8 feet
- A shutoff valve that connects to your cold-water supply
- Compression fittings with nuts and ferrules
Buying pieces separately works, but kits cut trips to the store and reduce wrong-size parts.
First-time buyers often forget one thing: the kit rarely includes a drill or a bucket. Grab those, plus a towel, before you start.
Best Tubing for a Refrigerator Water Line: Copper vs Plastic vs Braided Stainless Steel
The best tubing for a refrigerator water line depends on budget, skill level, and how much the line will move.
| Tubing Type | Best For | Main Drawback |
|---|---|---|
| Plastic (polyethylene or PEX) | DIY first-timers | Can kink if bent sharply |
| Copper | Long-term, fixed runs | Hard to bend, needs a pro |
| Braided stainless steel | High-traffic areas | Costs more upfront |
Plastic tubing bends around corners without tools and handles normal household water pressure, but a sharp bend kinks and cuts off water flow to the ice maker.
Copper resists kinks and lasts for decades. But bending it wrong cracks it, and repairs mean cutting and re-soldering.
Braided stainless steel wraps a flexible inner tube in metal mesh, resists kinks, and looks clean behind the fridge.
Sizing, Fittings, and What Your Refrigerator Actually Needs
Most refrigerator water inlet valves accept 1/4-inch outer diameter tubing, the size sold in most refrigerator water line kits. Some models use 5/16-inch or 3/8-inch fittings, and a few European-style models use a push-to-connect fitting.
Match three things before you cut anything:
- Tubing outer diameter to the fitting on the shutoff valve and the refrigerator inlet
- Fitting style (compression, push-to-connect, or flare) to the valve and inlet
- Tubing length to the actual run plus 2 to 3 feet of slack for pulling the fridge out
A compression fitting uses a nut and brass ferrule that crushes onto the tubing when tightened. A push-to-connect fitting (John Guest or SharkBite style) seals with an internal O-ring and releases with a small collar.
What the Codes and Manufacturers Accept
Not every material is approved everywhere. Copper and cross-linked polyethylene (PEX) are widely accepted for potable water lines under model codes such as the International Plumbing Code and the Uniform Plumbing Code. Polyethylene tubing sold in refrigerator kits is common but not always listed as an approved potable-water material, so check local amendments before a permanent run.
A few practical rules apply almost everywhere:
- Use only tubing and fittings labeled for potable water.
- Keep the run as short as practical and protect it from heat, sunlight, and sharp edges.
- Install an accessible shutoff valve on the branch that feeds the refrigerator.
Step 1: Shut Off the Water and Power, Then Find Your Cold-Water Supply
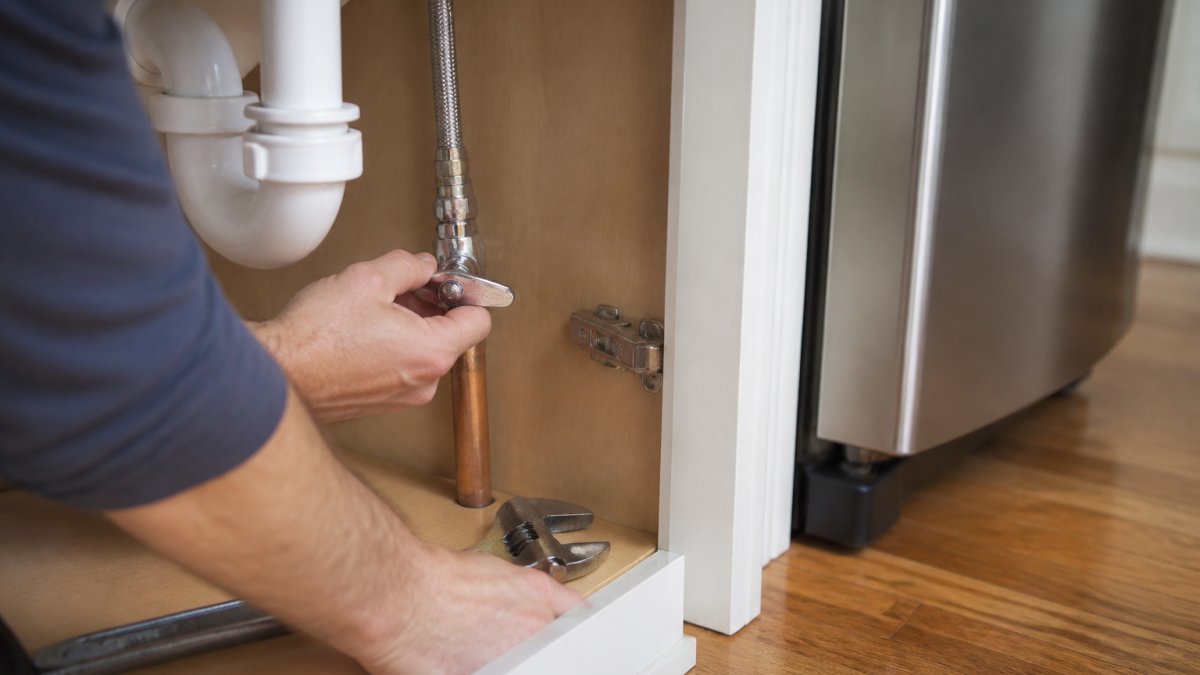
Turn off the water and unplug the refrigerator before touching any connection. Skipping this risks a shock or a flooded floor.
Start here:
- Unplug the refrigerator from the wall outlet.
- Shut off the main water supply, or the valve feeding the kitchen.
- Open a nearby faucet to release pressure in the line.
- Place a bucket and towel under the work area.
Now find your cold-water supply. Most homes have a valve under the kitchen sink. Others use a line behind the fridge or in the basement below.
Turn the valve clockwise until it stops. If it is stuck or leaks, replace it before going further.
How to Install a Refrigerator Water Line Without a Sink Nearby
No sink close by does not block the job. You have options.
- Tap a basement line. Run tubing up through the floor to the fridge.
- Use a nearby laundry supply. A washer valve often sits on the same wall.
- Add a tee fitting. Split an existing cold-water pipe and add a new shutoff valve.
A saddle valve is quickest, but many plumbers avoid them because they pierce the pipe and tend to leak. A tee fitting takes more effort upfront and lasts longer.
If no cold-water line sits within reach, call a plumber. Running a new branch line is a job for someone with the right tools.
Step 2: Connect the Line to the Shutoff Valve and Route It to the Refrigerator
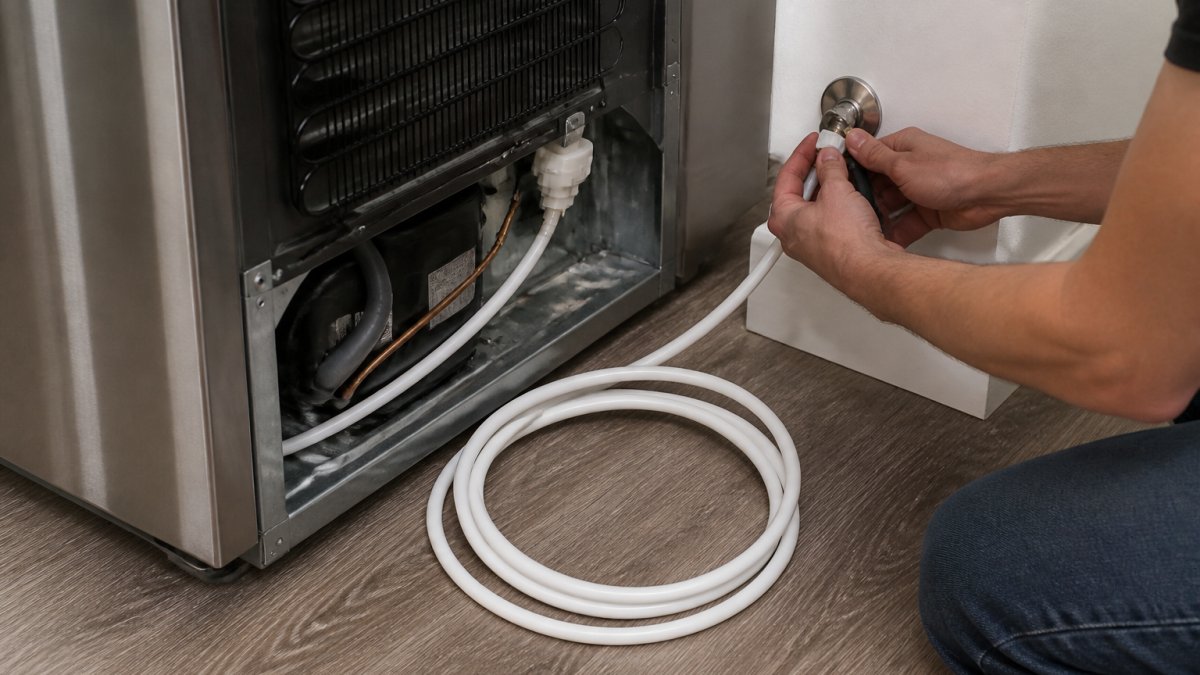
Attach the tubing to the shutoff valve first, then route it to the fridge, so the line does not twist.
Follow these steps:
- Slide the compression nut and ferrule onto the tubing.
- Push the tubing firmly onto the valve outlet.
- Hand-tighten the nut, then snug it a quarter turn with a wrench.
- Do not overtighten. This crushes the ferrule and causes leaks.
Now route the line. Keep bends gentle. Sharp angles kink plastic tubing and cut off water flow.
Routing Through Cabinets, Floors, and Walls
Pick the shortest path that avoids heat sources and sharp edges.
- Through cabinets: Drill a hole at the back corner, then feed the line through.
- Through floors: Drill from below, then seal the gap with caulk.
- Through walls: Use a drill bit sized to the tubing, and add a grommet.
Leave a small loop of slack behind the refrigerator so you can pull it out for cleaning without pulling the line tight.
Secure the tubing every few feet with a P-clamp. Loose line rattles and wears against cabinet edges.
Step 3: Connect the Line to the Refrigerator and Check Every Fitting for Leaks
Push the tubing onto the refrigerator's water inlet valve and tighten the compression nut by hand, then snug it with a wrench.
Check every connection before you push the fridge back:
- The shutoff valve connection
- Any tee or saddle fitting
- The refrigerator water inlet valve
Now turn the water back on slowly. Watch each fitting for a few minutes. A small drip shows up fast.
If you see a leak, tighten that fitting a quarter turn. Still leaking? A cracked or misplaced ferrule needs replacing.
Step 4: Flush the Line, Power Up, and Test Water Flow
Flush the line before you drink from it. New tubing and filters can carry loose particles.
Here is the order:
- Plug the refrigerator back in.
- Run the water dispenser for a few minutes.
- Dump the first few glasses. They may look cloudy.
- Keep running until the water looks clear.
The ice maker needs more time.
Check water pressure and flow. A weak stream points to a kink or clogged filter; straighten bends and test again.
Run your hand along the line behind the fridge and feel for moisture. Dry means you are done.
If flow stays weak, replace the water filter.
Refrigerator Water Line Installation Cost and Local Code Requirements
Refrigerator water line installation cost varies by method and region. A DIY kit is often the most budget-friendly option; a plumber costs more but covers tricky runs and code checks.
Cost factors include:
- Tubing type and length
- Whether a new valve or tee is needed
- Wall, floor, or basement routing
Check current rates with a local pro before you commit. Pricing depends on the specific components and labor involved. Get at least two quotes if the run is long or the route unclear.
What the Plumbing Codes Actually Require
Most states adopt a model plumbing code, usually the International Plumbing Code (IPC) or Uniform Plumbing Code (UPC), with local amendments. Two provisions come up repeatedly:
- An accessible shutoff valve. The branch that feeds the refrigerator must have a valve you can reach without cutting into a wall. A saddle valve on a concealed pipe often fails this test.
- Backflow protection. Any line tied to a drinking water supply must prevent water from the refrigerator or ice maker from flowing back into the household supply. Many codes require an air gap or a listed backflow preventer on the connection.
Some jurisdictions restrict or ban saddle valves outright because they pierce the pipe and tend to leak over time. Others allow them only on exposed, accessible copper pipe. The EPA guidance on drinking water safety explains why backflow protection matters for household water.
A licensed plumber can confirm your setup meets local rules; for a first install or tricky route, that call is worth it.
Leak Testing and Pressure Checks After Installation
A slow leak behind the refrigerator can rot flooring for months, so test the system before pushing the fridge back.
- Turn the shutoff valve on slowly, about a quarter turn at a time.
- Watch each fitting for 60 seconds. A drip shows up fast under pressure.
- Wrap a dry paper towel around each connection and check it after 10 minutes. Any dampness means a leak.
- Run the dispenser for two to three minutes to pressurize the full line.
- Re-check every fitting, including the refrigerator inlet valve and any tee or saddle fitting.
If a compression fitting weeps, tighten it a quarter turn. Still leaking? Shut the water off, remove the nut, and inspect the ferrule. A cracked, misaligned, or over-crushed ferrule needs replacing, not more torque. Over-tightening is the most common cause of a leak that will not stop.
Flushing, Filter Setup, and Troubleshooting
Flush the line before you drink from it; new tubing and filters can carry loose particles. Plug the refrigerator back in, run the dispenser for a few minutes, dump the first cloudy glasses, and keep running until the water looks clear. If your refrigerator has a filter, install or replace it now, most manufacturers recommend flushing 2 to 3 gallons through a new filter before the water tastes right.
Common problems and what they usually mean:
- Weak or no flow at the dispenser. A kink in the line, a clogged filter, or a shutoff valve that is not fully open. Straighten bends, replace the filter, and confirm the valve is open.
- Ice maker not filling. A closed saddle valve, a frozen fill tube, or a failed inlet valve. Check the valve first, then the fill tube.
- Water tastes off. A new filter that has not been flushed, or old tubing. Flush 2 to 3 gallons and re-test.
When you are ready to replace an aging fridge, Fast Appliances LLC offers a wide variety of refrigerators, dishwashers, and full kitchen sets with convenient access to essential household appliances, keeping ordering simple so you can focus on the install.
Frequently Asked Questions
How hard is it to install a water line for a refrigerator?
For most homeowners with a nearby cold-water line, it's a manageable DIY job that takes about one to two hours. You need basic tools like an adjustable wrench, a drill for cabinet holes, and a refrigerator water line kit with tubing and fittings. The trickiest parts are routing the line without kinks and checking every connection for leaks. If you have no accessible water source or you're uncomfortable working with plumbing, hiring a pro is a reasonable call.
What do you need to hook up a refrigerator water line?
A standard refrigerator water line kit includes quarter-inch tubing, compression fittings, a saddle valve or tee fitting, and a shutoff valve. You'll also want an adjustable wrench, a drill with a quarter-inch bit for cabinet holes, and a bucket or towel for drips. If you're tapping an existing pipe, a tee fitting works better than a saddle valve. Check your refrigerator's manual for the recommended tubing type and connection size before you buy.
Can you install a refrigerator water line without a nearby sink?
Yes. If no sink is close, you can tap a cold-water pipe in a basement, crawlspace, or adjacent room using a tee fitting or saddle valve, then route quarter-inch tubing through cabinets, floors, or walls to the refrigerator. Keep the run as short as practical and secure the tubing with P-clamps every couple of feet. If the run is long or crosses finished spaces, a pro can help route it cleanly and meet local code.
How much does it cost to hook up a water line to a refrigerator?
DIY costs are usually limited to the price of a refrigerator water line kit and a few small fittings. If you hire a plumber, the refrigerator water line installation cost depends on how far the line must run, whether a new shutoff valve is needed, and local labor rates. Pricing varies by job, so check with a licensed plumber for a current quote before scheduling.