 how-to
How to Install a New Oven: Step-by-Step Guide
Table of Contents
- Safety First: Power, Gas, and Lifting Basics
- Oven Installation Tools List: What You'll Need
- How to Install New Oven: Removing the Old Unit and Measuring
- Wiring and Gas Connections: 3-Wire vs 4-Wire and Leak Testing
- Leveling, Anti-Tip Bracket, and Final Checks
- How Much Does Oven Installation Cost?
- When to Hire the Best Appliance Installation Companies
- Troubleshooting Common Installation Errors
- Frequently Asked Questions
Last Updated: September 10, 2026
Safety First: Power, Gas, and Lifting Basics
Learning how to install new oven equipment safely starts with one rule: cut the power and shut the gas before you touch anything.
Disconnecting Power and Shutting Off Gas
Find your circuit breaker panel and switch off the breaker that feeds the oven. For a gas range, locate the shut-off valve behind the unit and turn it clockwise until it stops. Verify the line is dead with a voltage tester before pulling the appliance out.
Weight and Lifting Safety
Ovens weigh between 100 and 250 pounds depending on type and size (osha.gov). Use an appliance dolly and a second person. Lift with your legs, keep the unit close to your body, and never twist at the waist while carrying.
Oven Installation Tools List: What You'll Need
A complete oven installation tools list saves you multiple trips to the hardware store. Gather everything before you start.
- Adjustable wrench and pipe wrench
- Screwdrivers (Phillips and flathead)
- Voltage tester and multimeter
- Level
- Tape measure
- Safety goggles and work gloves
- Appliance dolly
- Thread sealant (gas-rated)
- Leak detection solution
- New gas connector and range cord (if not included)
How to Install New Oven: Removing the Old Unit and Measuring
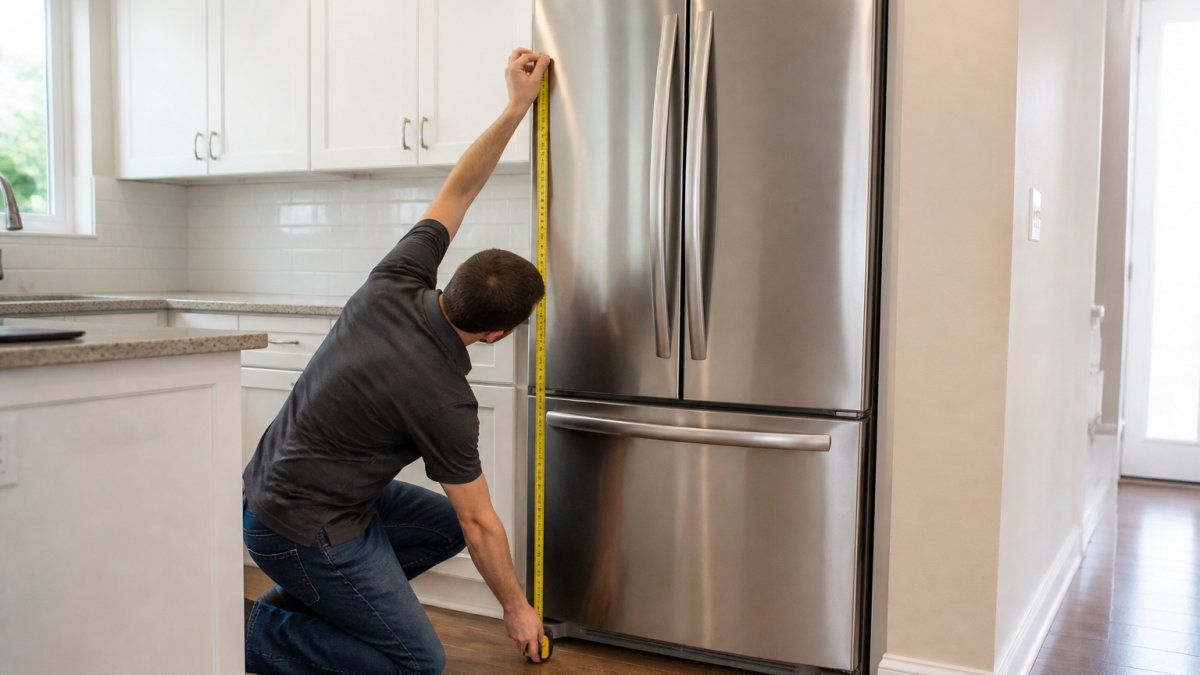
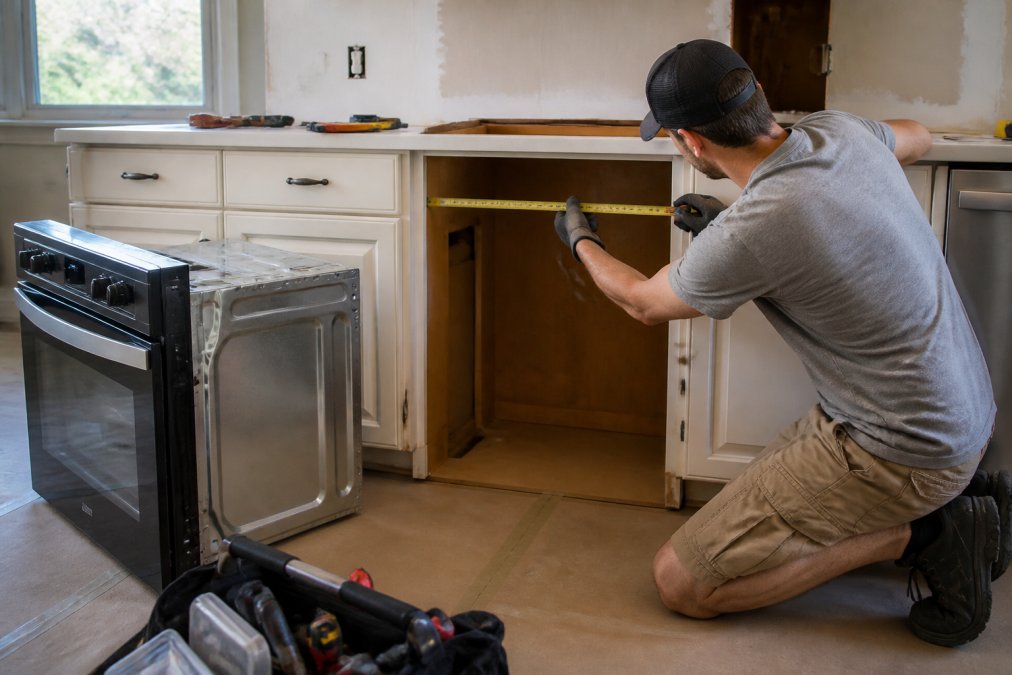
Pull the old oven forward slowly, disconnect the range cord from the junction box, and cap the gas line. Then measure the cabinet cutout dimensions: width, depth, and height. Compare these against your new unit's installation manual.
Measuring the Cabinet Cutout and Clearance
Cabinet clearance matters more than most people realize. Leave at least 1/4 inch of space on each side for ventilation and to prevent scratching during slide-in. Check that the cutout matches the new oven's spec sheet exactly before you commit.
Wiring and Gas Connections: 3-Wire vs 4-Wire and Leak Testing
The wiring decision comes down to your home's age and the outlet already installed behind the range. Older homes typically have a 3-wire setup; newer construction uses 4-wire with a separate grounding wire and neutral wire (nema.org). Match your range cord to the outlet type, never modify the outlet to fit a cord you already own.
| Setup | Wires | Outlet Type | When to Use |
|---|---|---|---|
| 3-wire | Two hot, one neutral | NEMA 10-50 | Homes built before 1996 |
| 4-wire | Two hot, neutral, ground | NEMA 14-50 | Newer construction |
Connecting the Range Cord to the Terminal Block
- Remove the terminal block access cover on the back of the oven.
- Thread the strain relief clamp onto the cord and secure it to the chassis knockout.
- Strip roughly 1/2 inch of insulation from each conductor.
- Match colors: black and red to the outer hot terminals, white to the center neutral terminal, green (or bare copper) to the grounding screw or terminal.
- Tighten each terminal screw firmly, most manufacturers specify a torque value in the installation manual, commonly in the 20-35 in-lb range. A loose terminal is the number one cause of a breaker that trips the moment you flip it on.
- Reinstall the access cover before pushing the unit back.
For a 3-wire cord, the neutral and ground are bonded at the terminal block using the grounding strap supplied with the oven. For a 4-wire cord, remove that strap so neutral and ground stay separate. Leaving the strap in place on a 4-wire install creates a shock hazard and is a common DIY error (osha.gov).
Hardwired vs. Plug-In Installations
Hardwired ovens connect directly to household wiring inside a junction box with no plug. Plug-in models use a range cord that fits a NEMA 10-50 or 14-50 outlet. The distinction matters for three reasons:
- Code compliance. Hardwired connections must be made inside an approved junction box with a strain relief, and the work generally falls under the electrical code adopted by your state or local jurisdiction.
- Permits. Many jurisdictions require an electrical permit for a new 240V circuit or a hardwired connection, and some require the work to be inspected. A like-for-like plug-in swap on an existing outlet usually does not.
- Serviceability. A plug-in oven can be unplugged for service or replacement; a hardwired oven must be disconnected at the box.
If you are unsure which category your install falls into, check the receptacle behind the range. If there is no receptacle and the conductors come out of a box in the wall, it is hardwired.
Gas Line Connection and Leak Testing
Attach the new flexible gas connector to the shut-off valve and the oven regulator using gas-rated thread sealant on the pipe threads only, never on the flare fittings. Two wrenches: one to hold the fitting, one to turn the nut, so you do not twist the gas line.
Once connected, open the shut-off valve slowly and brush a 50/50 dish soap and water solution (or a commercial leak detection fluid) on every joint: the valve, both ends of the connector, and the regulator. Bubbles mean a leak. Tighten a quarter turn, retest, and repeat. If bubbles persist, replace the connector, do not keep cranking on a fitting.
Leveling, Anti-Tip Bracket, and Final Checks
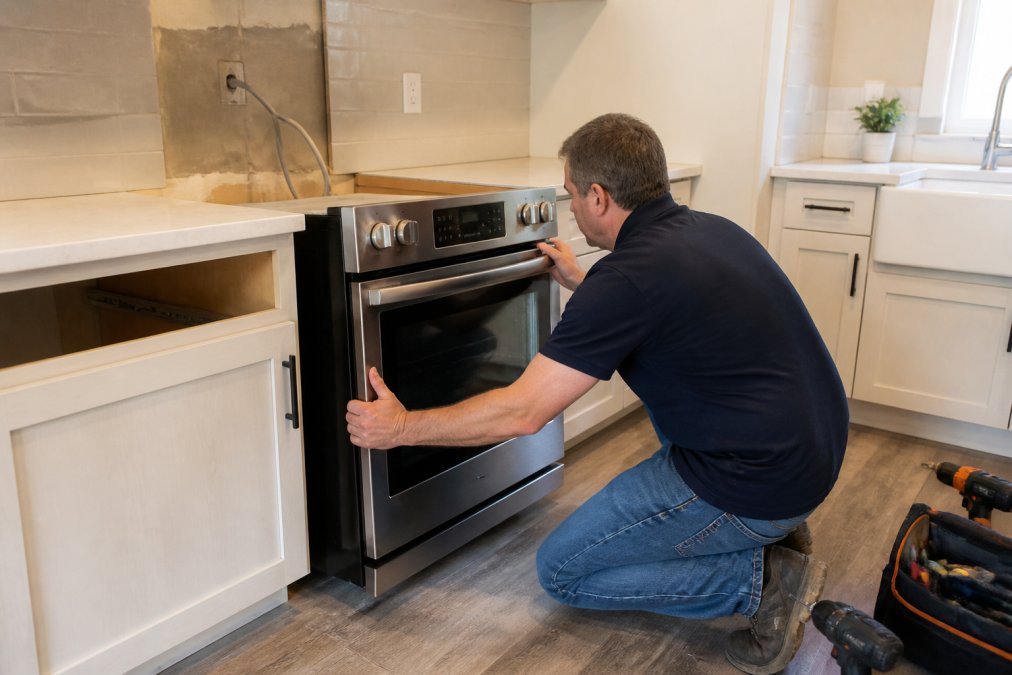
Slide the oven into place, then check the level with a spirit level on the stovetop. Adjust the leveling feet until the unit sits flat. Install the anti-tip bracket per the manual; this small metal piece prevents the oven from tipping forward when the door is open and weight is applied.
Run a final check: power on the breaker, test the burners or elements, and confirm the oven reaches temperature. If anything feels off, stop and call a professional.
How Much Does Oven Installation Cost?
Most guides answer this question with a single national average and move on. The more useful answer is a breakdown of what actually drives the number, because two homeowners installing the same oven can see very different bills.
What Drives the Cost
- Type of swap. A like-for-like electric replacement using the existing outlet and cord is the cheapest scenario. A gas-to-electric or electric-to-gas conversion is the most expensive because it adds a new circuit or a new gas line.
- Outlet and circuit. If a NEMA 14-50 outlet already exists, the labor is mostly removal, connection, leveling, and testing. If a new 240V circuit has to be run from the panel, expect a licensed electrician and a permit.
- Hardwired vs. plug-in. Hardwired connections take longer and typically require an electrician, which raises labor.
- Gas work. A new flexible connector and leak test are quick. Running a new gas line from the meter or manifold is a plumber's job and the single biggest cost swing.
- Permits and inspection. Where a permit is required, the fee and the inspection add both cost and time. Fees vary widely by jurisdiction.
- Haul-away and disposal. Removing and disposing of the old unit is often a separate line item unless the retailer bundles it.
- Access and stairs. A basement or second-floor kitchen with a tight stairwell adds labor time.
Typical Cost Ranges
As a general pattern, a straightforward electric swap with an existing outlet tends to land in the low hundreds of dollars for labor, while a job that requires a new dedicated circuit, a permit, and an electrician can run several times that. Gas conversions that need new plumbing sit at the top of the range. These are labor-driven estimates, the appliance itself is priced separately.
Because pricing varies by region, appliance type, and labor, get a written quote based on your specific situation rather than relying on a national average. Ask the quote to itemize: labor, permit, parts (cord, connector, sealant), haul-away, and any electrical or plumbing work.
When a Permit Is Required
This is the part most guides skip. A permit is generally required when the work involves a new circuit, a new gas line, or a hardwired connection that changes the electrical installation. A like-for-like plug-in swap on an existing outlet usually does not require one. Your local building department, not the retailer and not the installer, is the authority on what applies to your address, and the rules are set by the electrical and gas codes your state or jurisdiction has adopted. When in doubt, call the building department before you start. An unpermitted install can complicate a future home sale and may void insurance coverage on a fire claim.
Fast Appliances LLC lists current appliance pricing directly on our site, so you can see exactly what you're paying for the unit before delivery. Installation can be quoted separately based on your setup.
When to Hire the Best Appliance Installation Companies
Hire a professional when your install involves new gas lines, a 240V circuit that needs to be run, or a hardwired connection. The best appliance installation companies handle permits, pull the right wiring, and test for leaks and grounding before they leave.
If you're comfortable with basic tools and your home already has the correct outlet and gas hookup, a DIY install is realistic. Anything beyond that, bring in a licensed pro.
Troubleshooting Common Installation Errors
Most problems trace back to three issues: a loose terminal connection, a gas fitting that wasn't sealed properly, or an oven that isn't level. If the breaker trips immediately, check for a crossed wire at the terminal block. If you smell gas, shut off the valve and retest every joint. If the oven rocks, adjust the leveling feet one turn at a time.
Frequently Asked Questions
How hard is it to install a new oven?
For a straightforward electric swap where the wiring and cutout already match, installation is a moderate DIY project that takes two people about 1 to 2 hours. Gas ovens and hardwired units are more involved because they require leak testing, a shut-off valve check, and sometimes a permit. If you are uncomfortable working with 240V circuits or gas lines, hire a licensed professional.
Do I need an electrician to install an oven?
Not always. If your kitchen already has a matching 240V outlet, like a NEMA 14-50 receptacle, and the new oven uses a standard range cord, you can often handle it yourself. You do need an electrician when the circuit must be added, upgraded, or converted, when the oven is hardwired into a junction box, or when local electrical code requires a permit and inspection for the work.
What tools are required for oven installation?
A basic oven installation tools list includes a voltage tester or multimeter, adjustable wrench, screwdrivers, level, tape measure, work gloves, and safety goggles. For gas models, add a leak detection solution, thread sealant rated for gas, and a new flexible gas connector. An appliance dolly helps move the unit without straining your back, and a flashlight makes the terminal block and shut-off valve easier to reach.
Is it safe to install a gas oven myself?
It can be safe if you follow the manufacturer's installation manual exactly, use a new flexible gas line, apply thread sealant to the fittings, and check every connection with a leak detection solution before turning the gas back on. If you smell gas at any point, stop and call your gas utility. Many homeowners hire a licensed installer for gas connections because a missed leak is a serious safety risk.
Installing a new oven yourself is doable when you have the right tools, a clear plan, and respect for the electrical and gas work involved. If you'd rather skip the wiring and leak testing, Fast Appliances LLC carries a wide selection of ovens, stoves, and cooktops with convenient delivery right to your door. Our team can help you find the right size and model for your kitchen. Get started with Fast Appliances LLC and get the appliance you need without the guesswork.