 how-to
How to Install a Dishwasher in an Old Kitchen (2026 Guide)
Table of Contents
- Feasibility Checklist: Can Your Old Kitchen Fit a Dishwasher?
- Installing a Dishwasher in Existing Cabinets: Removal and Reconfiguration
- Dishwasher Plumbing and Electrical Requirements
- Dishwasher Installation From Scratch: Step-by-Step Sequence
- Dishwasher Installation Cost: Labor, Parts, and Permits
- Old-House Complications and When to Call a Professional
- Frequently Asked Questions
Last Updated: October 18, 2026
Feasibility Checklist: Can Your Old Kitchen Fit a Dishwasher?
You can usually install a dishwasher in an old kitchen once you confirm three things: a 24-inch-wide cabinet opening, a nearby water and drain connection, and a working electrical source.
A dishwasher retrofit fits a built-in dishwasher into an existing kitchen without a full remodel, converting one base cabinet into an appliance bay and tying into existing plumbing and wiring.
Most failures happen before installation starts. Homeowners buy the unit, then discover the cabinet is 22 inches wide or the only outlet is on the far wall.
Here is the short version of what decides feasibility:
- Cabinet opening at least 24 inches wide and 34 inches tall
- Water supply line within about 3 feet of the unit
- Drain path to the sink or garbage disposal
Assessing Available Space and Cabinet Layout
Start by measuring the cabinet next to the sink, almost always the best location, because water, drain, and power already converge there.
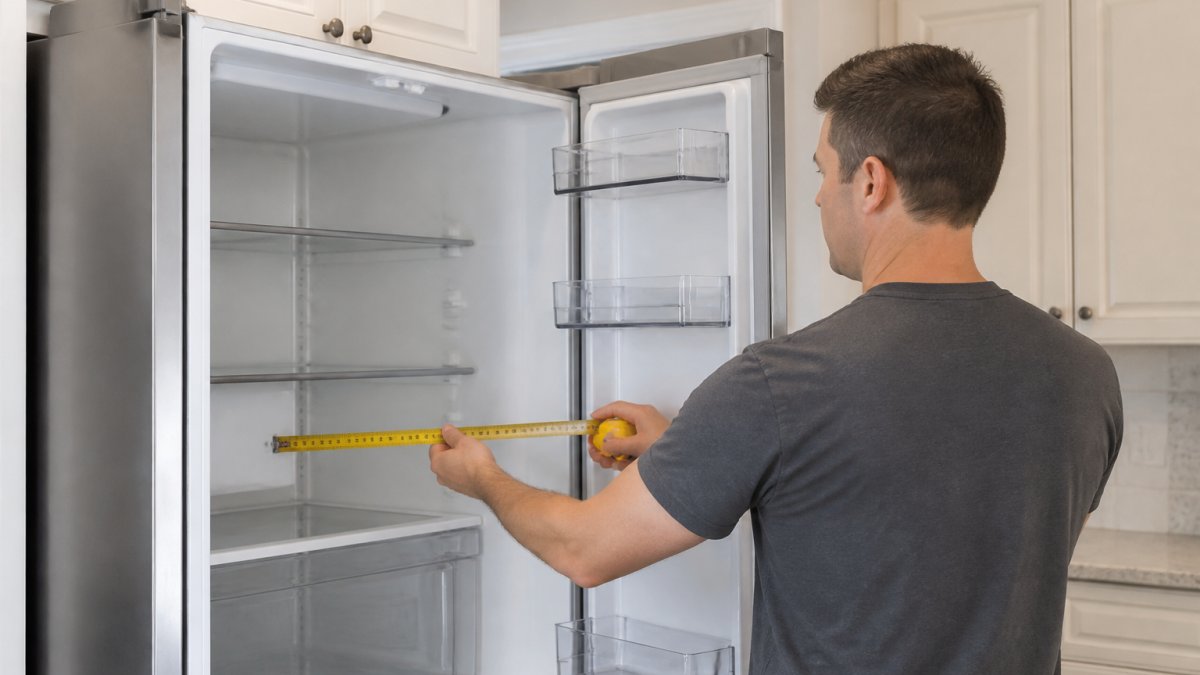
Measure the inside width of the cabinet box, not the door, and the floor to the underside of the counter.
Write down these numbers:
| Measurement | Target | Why It Matters |
|---|---|---|
| Cabinet inside width | 24 in minimum | Standard built-in width |
| Floor to counter underside | 34 in minimum | Fits most units with room to level |
| Distance to sink plumbing | 36 in or less | Keeps hose runs short |
| Distance to grounded outlet | 36 in or less | Avoids new wiring runs |
| Countertop overhang | 1 in or more | Needed for mounting brackets |
If your cabinet is narrower than 24 inches, you are not out of options: some compact and apartment-size models fit smaller bays, and a cabinet reconfiguration can sometimes buy the extra inches.
Installing a Dishwasher in Existing Cabinets: Removal and Reconfiguration
The job starts with removing the cabinet, not unpacking the appliance. Clear the shelves, then shut off water at the valve under the sink.
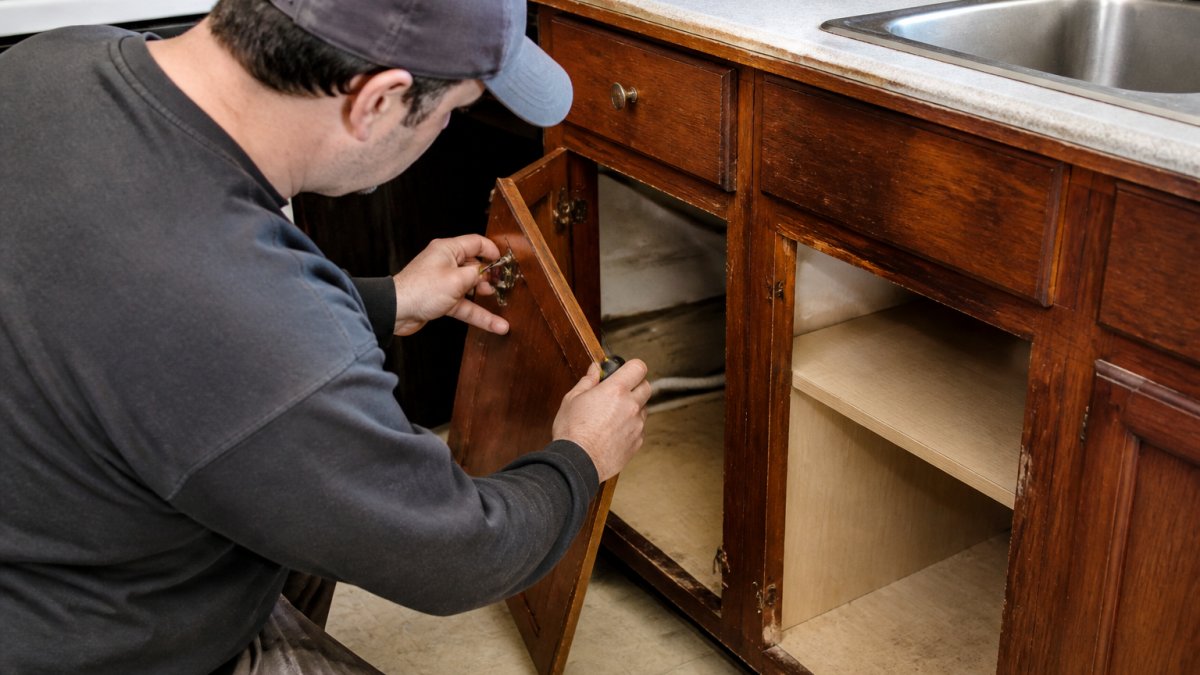
Work in this order:
- Empty the cabinet and remove the door and hinges.
- Take out shelves and any drawer slides.
- Cut the caulk line where the cabinet meets the counter.
- Remove screws holding the cabinet to the wall and to adjacent cabinets.
- Pull the cabinet out and inspect the wall and floor behind it.
What most guides miss is the face frame: on older cabinets it is a structural rail tying the run together, and cutting it badly makes adjacent cabinets sag.
Creating the Cabinet Opening and Adding Vertical Filler
A standard built-in dishwasher needs a clear opening 24 inches wide and 34 inches tall. Once the cabinet box is out, measure the gap between the adjacent cabinets.
If the gap is wider than 24 inches, add vertical filler panels, strips of matching wood cut to the full height of the opening and fastened to the adjacent cabinet, to close the extra space and give the unit a clean edge to screw into.
Also check the kickboard. Most dishwashers need the toe-kick area clear so the door can open and the unit can slide in. Trim the kickboard back if it blocks the path.
Dishwasher Plumbing and Electrical Requirements
Every dishwasher needs three connections: a hot water supply, a drain, and a dedicated electrical source. In an old kitchen, the hard part is confirming the existing plumbing and wiring can legally and safely support them. Confirm all three before the unit arrives, and know which parts require a licensed trade and a permit. Securing these connections often reveals underlying issues that necessitate a comprehensive approach to kitchen plumbing installation to ensure your home remains up to code.
Water Supply, Drain Hose, and Power Supply Basics
The water connection is usually a flexible braided stainless line teed off the hot water pipe under the sink, ending in a shutoff valve (typically 3/8-inch compression). The drain hose runs to the sink drain or garbage disposal, looping high under the counter to prevent backflow; without a disposal, it connects to a wye or dedicated tailpiece fitting on the sink drain.
When You Need a Permit, a Licensed Electrician, or a Plumber
Rules vary by jurisdiction, but the pattern is consistent enough to plan around:
- New electrical circuit: Adding a dedicated circuit almost always requires an electrical permit, inspection, and a licensed electrician. Do not run a new circuit yourself unless your building department explicitly allows homeowner permits.
- New or relocated plumbing: Extending a supply line or moving a drain typically requires a plumbing permit. A straight swap reusing an existing shutoff valve and drain connection often does not, but confirm with your local building department.
- GFCI protection: The National Electrical Code (NEC) requires ground-fault circuit-interrupter protection for dishwasher receptacles in most residential settings. An ungrounded two-prong outlet cannot simply be swapped for a three-prong receptacle, the circuit needs a proper ground path, usually a new run or a GFCI breaker installed by an electrician.
As the U.S. Consumer Product Safety Commission notes, appliance electrical work carries real shock and fire risk when connections are loose or ungrounded. If the outlet is not grounded, sits on a shared circuit, or shows any sign of heat damage, stop and hire a licensed electrician.
Old-House Plumbing and Wiring Checks
Before committing to a location, inspect what is behind the cabinet:
- Galvanized supply pipes: Common in pre-1960s homes, they corrode from the inside and the threads crumble when you add a tee. If you see galvanized pipe at the shutoff, plan on a plumber replacing the run to the sink.
- No shutoff valve: If the only valve is the main, adding a dedicated shutoff for the dishwasher is a plumbing job, not a DIY add-on.
- Drain height and trap: The drain hose must reach the sink drain or disposal with a high loop. If the sink drain is more than a few feet away or the trap is below the floor, you may need a new drain.
Quick check before you commit:
- Hot water shutoff valve works and is not seized
- Supply pipe is copper, PEX, or braided, not galvanized
- Drain path to sink or disposal is clear and can be high-looped
The U.S. Environmental Protection Agency's WaterSense program is a useful reference when comparing models, since water use varies widely between older and newer dishwashers.
Dishwasher Installation From Scratch: Step-by-Step Sequence
Here is the sequence we recommend to avoid rework. Set aside a full day if you are doing it yourself.
- Shut off power and water. Turn off the breaker and close the sink shutoff valves.
- Confirm the opening. Recheck width, height, and depth against the unit's spec sheet.
- Run the connections. Fit the water line, drain hose, and electrical feed into the cabinet bay.
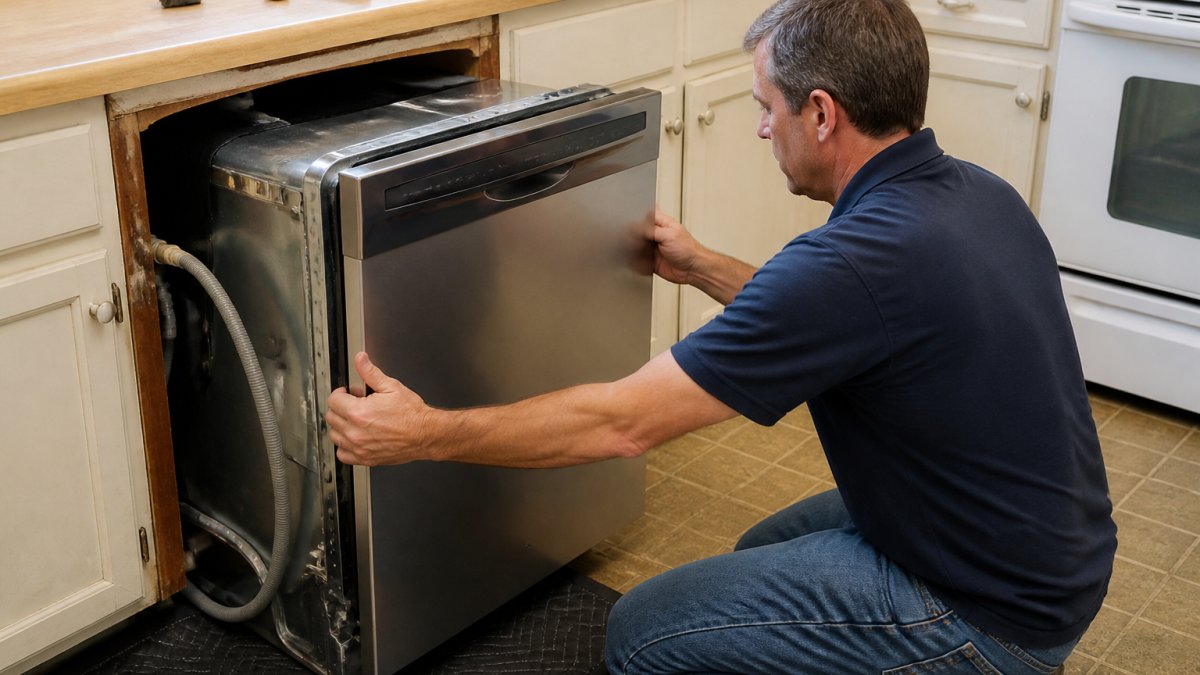
- Slide the unit in. Protect the floor, tilt the unit back onto its rear legs, then ease it into the opening.
- Level it. Adjust the front legs until the door clears the counter and the unit sits flat.
- Secure it. Fasten mounting brackets to the counter underside or the side cabinets.
- Connect supply and drain. Tighten the water fitting and clamp the drain hose with a high loop.
- Restore power and water. Turn the breaker back on and open the valves.
- Leak test. Run a short cycle and watch every fitting for drips.
- Attach the door panel or front panel and check the door spring tension.
The leak test is the step people skip. Run it twice: right after connection, and again after a full hot cycle when the fittings have expanded.
Dishwasher Installation Cost: Labor, Parts, and Permits
Cost varies by region, cabinet condition, and whether new wiring or plumbing is needed. Here are the ranges most homeowners see, broken down by line item, so you can compare a DIY retrofit against hiring out part or all of the job.
Typical Cost Ranges by Line Item
These are broad ranges for planning, not quotes; local labor markets, home age, and permitting will move the numbers.
| Cost Category | Typical Range (USD) | What Drives It |
|---|---|---|
| Dishwasher (standard 24-inch built-in) | $400-$1,200 | Model, finish, features, noise rating |
| Cabinet removal and modification | $150-$600 | Whether you DIY or hire a carpenter; filler panels; face-frame work |
| Plumbing work | $150-$500 | New supply line, shutoff valve, drain tie-in, disposal work |
| Electrical work | $250-$800 | New dedicated circuit, GFCI outlet, hardwire junction box |
| Permits | $50-$300 | Local fee schedule; electrical and plumbing permits priced separately |
| Delivery and haul-away | $0-$150 | Access, stairs, old unit removal |
| Professional installation labor (appliance only) | $150-$400 | Whether connections already exist and meet code |
A straight swap into an existing, code-compliant opening sits at the low end of every line. A retrofit needing a new circuit, plumbing upgrade, and cabinet reconfiguration sits at the high end, and can exceed it in older homes with galvanized pipe or obsolete wiring.
DIY vs. Hiring Out: What the Numbers Look Like
A common pattern is to split the job:
- Cabinet work: Many homeowners do this themselves. Removing a base cabinet and adding filler panels is a few hours with basic tools, and it is the least risky part of the job.
- Plumbing: If the shutoff valve and drain connection already exist and work, connecting the supply line and drain hose is a DIY task. If a new tee, valve, or drain run is needed, a plumber is usually worth the cost.
- Electrical: This is where DIY savings disappear. A new dedicated circuit or GFCI protection is a licensed electrician job in most jurisdictions, and the permit and inspection are part of the cost. Budget $250-$800 for the electrical line item and do not cut it.
Hiring one firm for everything typically costs more than splitting the job between a carpenter, a plumber, and an electrician, but it saves coordination. Get written estimates from each trade before you approve.
Time Estimates
Set aside a full day for a DIY install where the opening and connections already exist. Add time for each complication:
- Cabinet removal and filler panels: 2-4 hours
- New electrical circuit (electrician): half a day, plus inspection scheduling
- New plumbing supply or drain run (plumber): 2-4 hours
A retrofit needing both a new circuit and a plumbing upgrade is realistically a two-day project spread across trades, not a weekend.
Permits and Inspection
Permits are the item most homeowners forget. Adding a new electrical circuit almost always requires a permit and inspection, and moving or extending plumbing usually does too. Permit fees are typically $50-$300 depending on the jurisdiction and how many trades are involved. Check with your local building department before work begins, and confirm current requirements on the U.S. Department of Energy's appliance and energy guidance pages for efficiency and installation notes.
When you are ready to choose the appliance itself, Fast Appliances LLC stocks a wide variety of home appliances, including dishwashers, so you can match the unit to your opening before you commit to the cabinet work.
Old-House Complications and When to Call a Professional
Old kitchens hide surprises: galvanized supply pipes that crumble at the fitting, ungrounded two-prong outlets, and floors out of level by more than an inch.
Here is when to stop and call a pro:
- The only outlet is ungrounded or on a shared circuit
- Supply pipes are galvanized steel or show corrosion
- The drain line has no trap or runs uphill
A professional installer typically handles the plumbing and electrical connections and leaves cabinet work to a carpenter, often cheaper than one firm for everything.
If a standard built-in will not fit, consider these alternatives:
- A compact 18-inch model for tight bays
- A portable countertop unit that connects to the sink faucet
- A drawer-style unit installed under a counter in another location
Retrofitting a dishwasher into an old kitchen comes down to three confirmed connections and one honest measurement.
Frequently Asked Questions
Can you add a dishwasher to an old kitchen without remodeling it?
Yes, in many cases. You can install a dishwasher in an old kitchen without a full remodel if there is a base cabinet next to the sink you can remove or reconfigure, and if the plumbing and electrical connections can reach the new location. The main requirements are a cabinet opening roughly 24 inches wide, access to a water supply line, a drain connection, and a power source. If any of those are missing, you may need a plumber or electrician to extend them, which adds to the dishwasher installation cost.
What plumbing and electrical requirements does a dishwasher need?
A dishwasher needs a hot water supply line, a drain hose that connects to the sink drain or garbage disposal, and a dedicated electrical circuit, usually 120 volts on a 15- or 20-amp breaker. Most building codes require the dishwasher to be on its own circuit or shared only with a disposal. The connection point should be within reach of the appliance's supply lines, typically in the adjacent sink cabinet. Check local code requirements before you start, and have a licensed electrician handle any new wiring.
How much does it cost to install a dishwasher from scratch?
Dishwasher installation cost depends on whether you hire a professional and how much cabinet, plumbing, or electrical work is needed. If the connections already exist, labor is usually straightforward. If you need new wiring, a dedicated circuit, or plumbing extended to a new location, expect higher costs. Pricing varies by region and scope, so request a quote from a licensed installer. You can also check Fast Appliances LLC's website for current appliance information and delivery details.
Do you need to remove a cabinet to install a dishwasher?
Often yes, if your kitchen does not already have a dishwasher-sized opening. A standard built-in dishwasher needs a space about 24 inches wide, 24 inches deep, and 34 to 35 inches high. In most old kitchens, that means removing a base cabinet or reconfiguring the existing cabinets next to the sink. If the cabinet is structural or houses plumbing, you may need to modify it rather than remove it entirely, and add a vertical filler panel to close any gaps.