 how-to
Check Appliance Dimensions Before Buying Online: 2026 Guide
Table of Contents
- Why Online Appliance Dimensions Cause Confusion
- Tools and Prep: What You Need to Measure Correctly
- How to Measure Doorways for Appliance Delivery
- Appliance Clearance Requirements: Door Swing and Ventilation
- The Spec Sheet Trap: Depth, Handles, and Cutout Dimensions
- Common Measurement Mistakes That Lead to Returns
- What to Check if You Hire the 5 Best Appliance Installation Companies in My Area
- Conclusion: Your Pre-Order Measurement Checklist
- Frequently Asked Questions
Last Updated: September 7, 2026
Ordering a refrigerator or washer online is easy until the delivery team arrives and the unit doesn't fit through the doorway. Checking appliance dimensions before buying online is the single step that separates a smooth installation from a costly return, yet most shoppers skip it. This guide walks through the exact measurements you need, the clearance rules most people miss, and the delivery path checks that will save you from a headache.
The core problem is that appliance dimensions describe the box, not your home. A refrigerator may list a depth of 30 inches, but that figure rarely includes the door handles, the clearance needed for the doors to swing open, or the ventilation space required at the back. Before you click buy, measure your space and your home's access points with the same care you would apply to the spec sheet.
Why Online Appliance Dimensions Cause Confusion
Online listings show the manufacturer's stated dimensions, which are accurate for the appliance itself but useless without context. Cutout dimensions, jamb to jamb measurements, and installation requirements vary between built-in and freestanding models.
The confusion starts with what the spec sheet does not say. A standard refrigerator depth on paper does not account for the three inches of clearance the doors need to open fully, nor does it include the space a water line or power outlet occupies behind the unit. When you check appliance dimensions before buying online, you are really measuring three things: the appliance footprint, the opening it must pass through, and the clearance it needs to function.
Tools and Prep: What You Need to Measure Correctly
Gather these tools before you start, and the whole process takes under twenty minutes:
- Metal tape measure (25-foot minimum, not a fabric ruler)
- Notepad or phone for recording measurements
- Level to check floors and door thresholds
- Flashlight for inspecting tight corners and alcoves
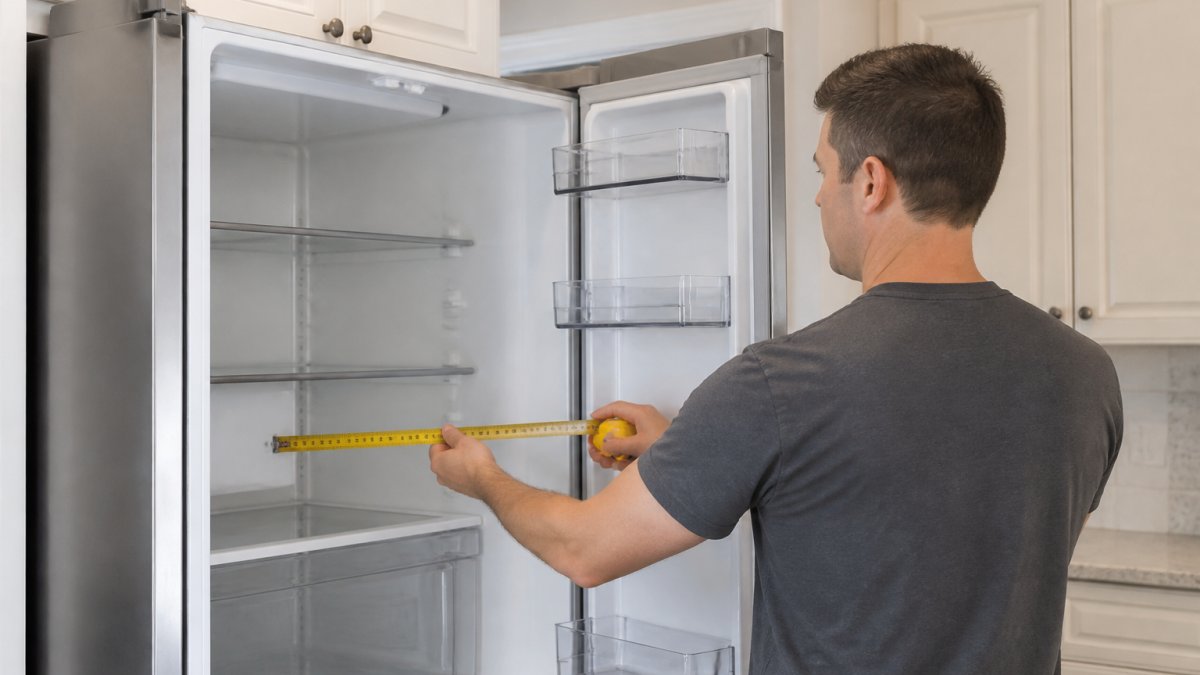
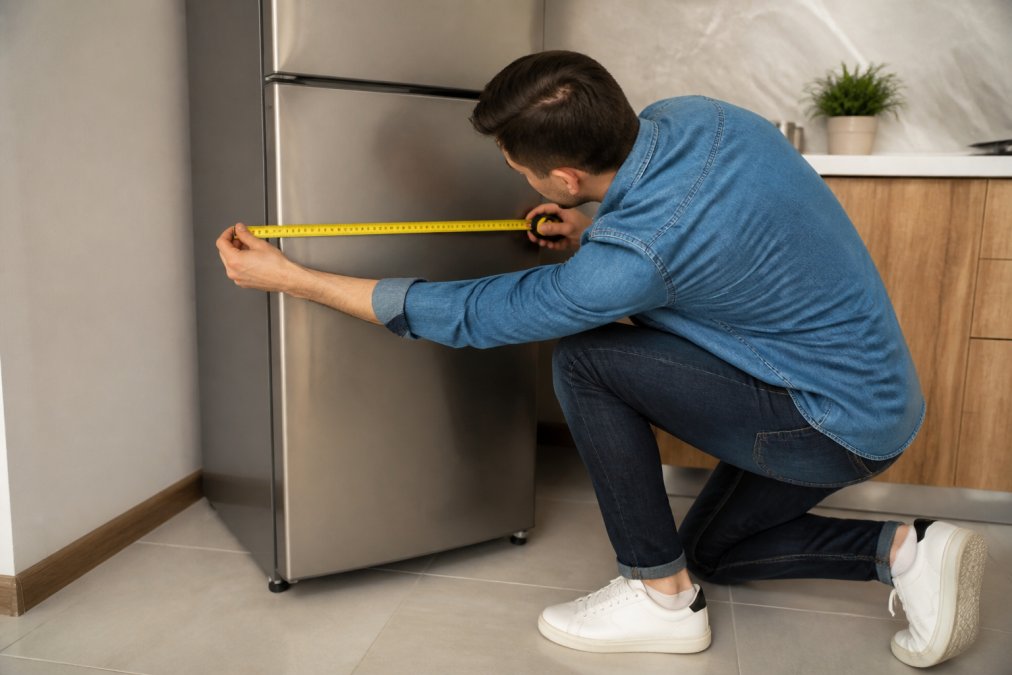
Measure the intended space at three points: the floor, the middle, and the top. Walls are rarely perfectly straight, and the narrowest point is the one that matters. Record the width, depth, and height separately, then compare those numbers against the appliance dimensions listed online. A common mistake is measuring only once and trusting that the opening is uniform.
How to Measure Doorways for Appliance Delivery
The delivery path is where most online appliance orders fail. A unit that fits the final alcove can still be a no-go if it can't make the turn at the top of the stairs. Measuring the path of travel is a distinct skill from measuring the final space. This section gives you a concrete, step-by-step method for mapping the entire route from the truck to the installation point.
Step 1: Map the Route and Identify Choke Points
Walk the path the delivery team will take. Note every obstacle: exterior doors, interior doors, hallways, stairwells, landings, and corners. Draw a simple floor plan. For each choke point, record two numbers: the width of the opening and the depth of the space available for maneuvering.
Step 2: Measure Openings with Trim in Mind
Doorway width is the obvious check, but trim and baseboards reduce the effective opening. Measure the width of the door frame from jamb to jamb, then measure the thickness of the trim on both sides. The effective width is the jamb-to-jamb measurement minus the trim thickness on the narrowest side. For example, a 32-inch wide doorway with 0.75-inch thick trim on each side leaves only 30.5 inches of usable space. Always subtract an additional 0.5 to 1 inch for packaging and maneuvering room.
Step 3: Calculate the Appliance's 'Pass-Through' Dimensions
The appliance's listed width and depth are not the numbers that matter for a turn. When an appliance pivots through a doorway or around a corner, its diagonal measurement becomes the critical figure. For a refrigerator that is 36 inches wide and 30 inches deep, the diagonal is approximately 47 inches. If the hallway is only 36 inches wide, the unit will not make the turn. Use the Pythagorean theorem (a² + b² = c²) to calculate the diagonal for any appliance, and compare that number against the width of every hallway and landing.
Step 4: Measure Stairwells, Landings, and Ceiling Height
For multi-level deliveries, the stairwell is the most common failure point. Measure the width of the stairwell at its narrowest point, the height of the ceiling above the stairs, and the depth of the landing at both the top and bottom. A standard refrigerator needs a minimum of 36 inches of stairwell width and a landing depth of at least 48 inches to allow the delivery team to pivot the unit. Low-hanging light fixtures or ceiling fans can also block the path, measure the clearance from the floor to the lowest point of any obstruction.
Step 5: Use the 'Path of Travel' Worksheet
To make this process repeatable, consider creating a Path of Travel Measurement Worksheet. This one-page PDF could include fields for every measurement discussed above, plus a simple diagram to sketch your floor plan. Fill it out before you order, and keep it handy for the delivery team.
Appliance Clearance Requirements: Door Swing and Ventilation
Once the appliance reaches its destination, the clearance requirements shift from passage to function. Refrigerators need ventilation space at the back and sides to dissipate heat, while front-load washers and dryers require enough room for the doors to swing fully open.
Built-in appliances are designed to fit flush with cabinetry and typically specify exact cutout dimensions on the spec sheet. Freestanding units are more forgiving but still need airflow. A side-by-side refrigerator usually requires an inch of clearance on each side and two inches at the back, though manufacturer guidelines vary by model (geappliances.com). Check the spec sheet for the minimum clearance, then add a buffer for floor unevenness and wall irregularities. When you check appliance dimensions before buying online, always verify that the clearance requirements match the space you actually have.
The Spec Sheet Trap: Depth, Handles, and Cutout Dimensions
The listed depth on a spec sheet rarely reflects the real-world footprint. Counter depth refrigerators are marketed as flush with cabinetry, but the handles still protrude, and the doors need swing clearance that the published number omits. The gap between 'product dimensions' and 'required installation clearance' is the #1 source of fit failures we see.
Product Dimensions vs. Installation Clearance
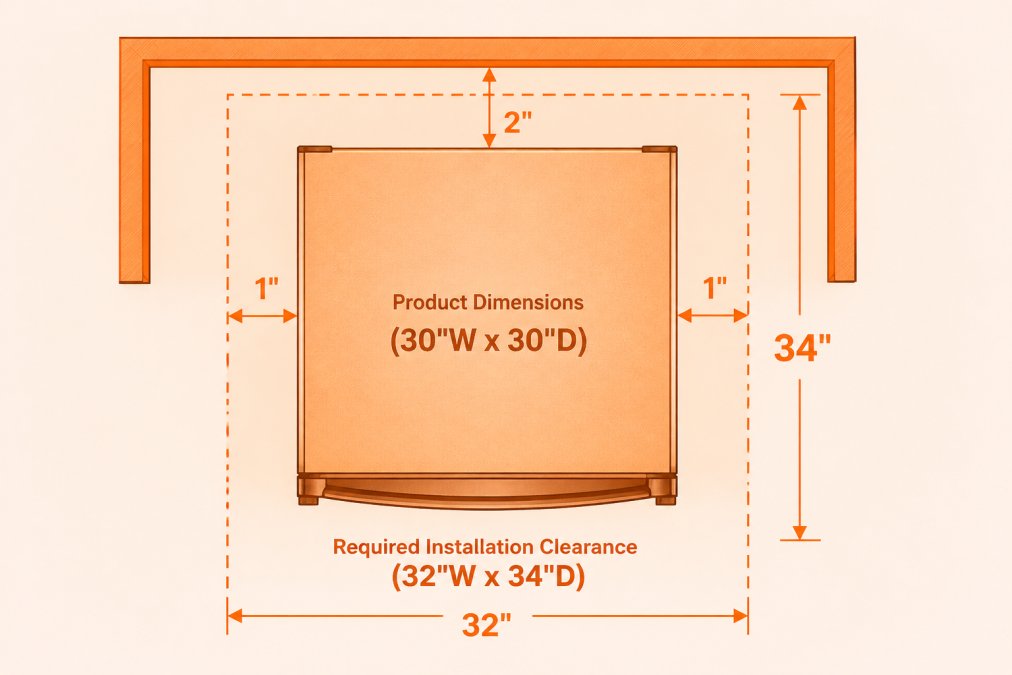
Manufacturers list two different sets of numbers, and confusing them is a costly mistake. Product dimensions describe the physical box of the appliance, width, height, depth, without any allowance for airflow, door swing, or connections. Installation clearance is the minimum space required around the unit for it to function safely. For a refrigerator, this includes 1 inch of clearance on each side and 2 inches at the back for ventilation. For a dryer, the clearance is often 4 to 6 inches at the back for the exhaust duct. The spec sheet lists both, but the 'installation clearance' figure is buried in the fine print or the installation manual.
Visualizing the Real Footprint
To see the difference, sketch a rectangle representing the product dimensions on graph paper. Then draw a second rectangle around it, adding the required clearance on each side. This outer rectangle is your 'real footprint.' For a 30-inch wide refrigerator with 1 inch of side clearance, the real footprint is 32 inches wide. For a 30-inch deep unit with 2 inches of rear clearance plus 1 inch for the water line connection, the real depth is 33 inches, before you add the handles.
The Handle Depth Problem
Handles add 1.5 to 2.5 inches to the depth of a refrigerator, and this number is almost never included in the spec sheet's depth figure. A 'counter depth' refrigerator with a listed depth of 28 inches will actually need 30 to 31 inches of floor space once the handles are installed. Measure the handle depth from the spec sheet's side-view diagram, or look for the 'depth with handles' figure in the installation manual. If that number isn't available, add 2 inches to the listed depth.
Cutout Dimensions for Built-In Models
Built-in appliances are designed to fit flush with cabinetry and specify exact cutout dimensions, the precise opening required for installation. These dimensions include tolerances for leveling and airflow. For a built-in refrigerator, the cutout width is typically 0.5 to 1 inch wider than the product width, and the cutout depth must accommodate the unit's body plus rear clearance for the condenser coils (ajmadison.com). If you're replacing an existing built-in, measure the current cutout, the space between the cabinets, not the old appliance. Cabinet openings can shift over time, so the current cutout is the only number that matters.
The Water Line and Power Cord Factor
A water line connection adds 1 to 2 inches of depth behind the refrigerator, and a power cord can add another 1 to 2 inches. These connections are often routed through a hole in the back wall, but if they're not, they push the unit forward. Measure from the back wall to the front of the water line shut-off valve and the outlet face. If either protrudes more than 1 inch from the wall, add that depth to your clearance calculation.
Common Measurement Mistakes That Lead to Returns
The most frequent errors that lead to returns follow a pattern: measuring the space but not the path, trusting the spec sheet's depth figure, and forgetting about hinges and handles.
- Measuring only the doorway width, not the trim, baseboard, and door swing
- Assuming the spec sheet depth includes handles and rear clearance
- Forgetting to account for power outlets and water lines behind the unit
- Ignoring the floor-to-ceiling height, especially in basements and older homes
- Failing to measure the stairwell and landing space for multi-level deliveries
Each mistake leads to the same outcome: a delivery that cannot be completed and a return that costs you time and restocking fees. The fix is simple. Measure twice, compare the numbers against the appliance dimensions, and call the retailer if you are unsure whether a tight fit will work. Most online sellers can provide guidance if you share your measurements.
What to Check if You Hire the 5 Best Appliance Installation Companies in My Area
If you plan to hire a professional rather than handle delivery yourself, your measurement responsibilities change but do not disappear. Installation companies handle the physical labor, but the fit-check still depends on the dimensions you provide or the site visit they conduct.
Before booking an installer, verify that they perform a pre-installation site visit to measure doorways, stairwells, and clearance. Ask whether their quote includes removal of the old appliance, disconnection of water lines, and haul-away. Confirm that the installer coordinates with the delivery window, because a mismatch between the delivery date and the installation appointment creates a gap where the appliance sits in your garage or hallway.
For the installation itself, the key checks are leveling, ventilation clearance, and connection points. A refrigerator that is not level will have doors that do not seal properly, while a dryer installed without adequate clearance becomes a fire hazard (homedepot.com). Share the model number with the installer and ask them to confirm compliance with the manufacturer guidelines.
Conclusion: Your Pre-Order Measurement Checklist
Before you place an online order, run through this checklist to confirm that the appliance dimensions will work in your home:
- Measure the space width, depth, and height at three points
- Measure every doorway, hallway, and stairwell in the delivery path
- Add clearance for door swing, handles, and ventilation
- Account for power outlets, water lines, and floor unevenness
- Compare your numbers against the spec sheet's cutout dimensions
- Confirm the delivery path allows for turns and landings
Checking appliance dimensions before buying online takes twenty minutes and prevents the most common reason for appliance returns. When you shop with Fast Appliances LLC, our wide selection of washers, dryers, refrigerators, stoves, and dishwashers makes it easy to find the right model. Get started with Fast Appliances LLC and order with confidence.
Frequently Asked Questions
Is a 36 inch fridge actually 36 inches wide?
Usually not. The 36-inch spec is the nominal width used for cabinet cutout planning. The actual width is often closer to 35.5 or 35.75 inches. This gap provides the required clearance for installation and door swing. Always check the spec sheet for the exact cutout dimensions and compare them to your measured space, not the model name.
Does the depth of an appliance include the handles?
No. Standard spec sheet depth typically excludes handles, which can add 1 to 2 inches. This is a critical difference between built-in and freestanding models. If your aisle or doorway is tight, measure the total depth including handles and any water line connections at the back to ensure the appliance fits the path of travel.
How much clearance space do I need for a refrigerator door to open?
You need enough clearance for the door to open at least 90 degrees so drawers and shelves pull out. Check the appliance clearance requirements on the spec sheet, often listed as a minimum side clearance. Remember to account for the hinge clearance and the swing radius of the door against adjacent cabinets or walls.
How do I measure my doorways for appliance delivery?
Measure the doorway width at the narrowest point, which is usually from jamb to jamb, not the frame edge. Also measure the height and the depth of any hallway or stairwell turns. Your appliance dimensions must be smaller than these measurements to allow for a safe delivery path.