how-to
How to Prepare for Washing Machine Installation
Table of Contents
- Pre-Installation Site Assessment: Measure, Check, and Clear the Path
- Tools Needed for Washer Installation: What to Have on Hand
- Preparing the Laundry Space Before Delivery Day
- Removing the Old Washer and Planning Disposal
- How Long Does It Take to Install a Washing Machine?
- Common Washer Installation Mistakes to Avoid
- Frequently Asked Questions
Last Updated: September 11, 2026
Pre-Installation Site Assessment: Measure, Check, and Clear the Path
The most common reason a washing machine installation goes wrong has nothing to do with the machine. It's the space it's going into. This guide walks through how to prepare for washing machine installation, starting with the measurements and utility checks that prevent a delivery-day disaster.
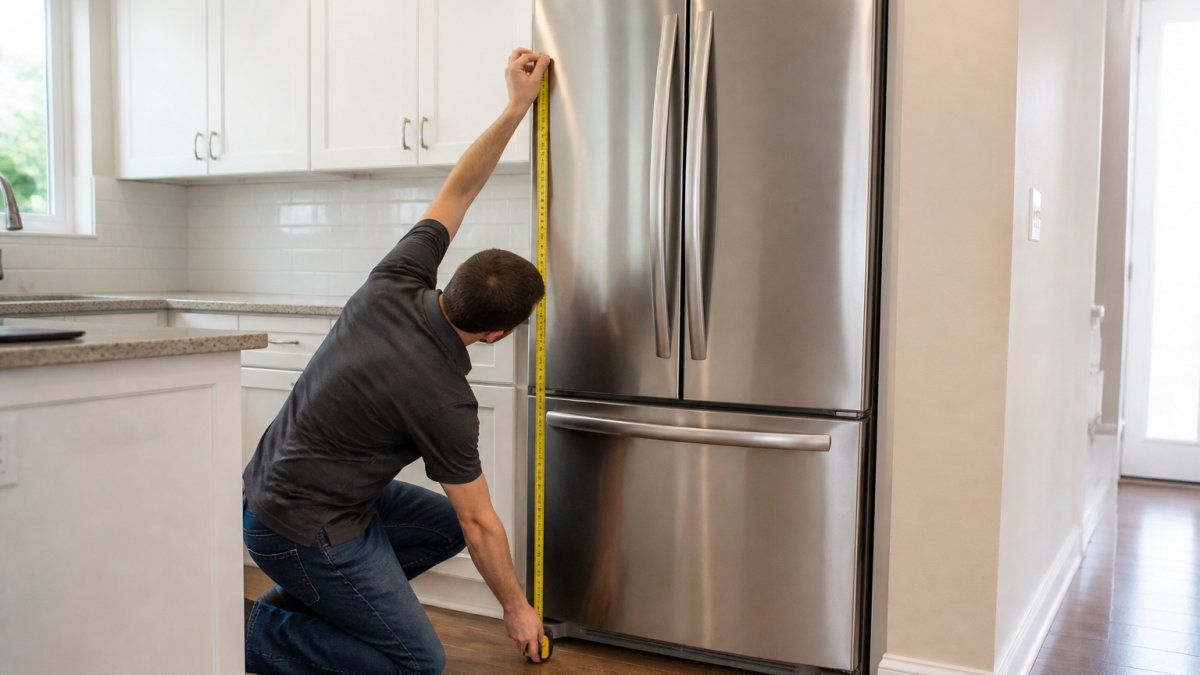
Before the truck arrives, you need three numbers and one inspection. Measure the alcove width, depth, and height, then confirm your water supply valves, drain setup, and outlet are actually usable. Skipping this step is how people end up with a washer sitting in a hallway while they figure out a plan B.

Measure the Alcove, Doorways, and Stairwells
Washers are wider than most people expect once you account for hoses and clearance. Measure the alcove opening, then measure every doorway and stairwell the unit must pass through. A standard washer needs a few inches of breathing room behind it for the inlet hoses and drain hose, so a tight alcove that "just fits" on paper often doesn't fit in practice.
Write down the narrowest point on the entire delivery path. That number, not the alcove, is what determines whether the machine makes it to the laundry room. If the narrowest point is a stairwell turn or a doorway with a door that swings into the path, remove the door and its hinges before delivery day, a hollow-core door is easy to rehang, but a scuffed washer cabinet is permanent.
Inspect Water Supply Valves, Drain, and Outlet
Turn both water supply valves by hand before delivery day. If they're frozen, corroded, or dripping, a plumber needs to replace them first. A common mistake is discovering a seized shut-off valve while the delivery team is standing in your hallway.
Check the drain next. A standpipe needs adequate height for the drain hose to hook in without siphoning, and a laundry sink or drain port works too. Most manufacturers specify a standpipe height in the installation manual, commonly around 30 to 39 inches from the floor, and the drain hose should be secured so it cannot fall out during the spin cycle (energy.gov). If the standpipe is too short, the drain hose can siphon water back into the drum; if it's too tall, the pump has to work harder to push water out.
Finally, confirm you have a grounded outlet within reach of the electrical cord, ideally on its own circuit. A washer draws significant current during the spin cycle, and sharing a circuit with a refrigerator, microwave, or space heater is a common cause of nuisance tripping. In laundry areas, the outlet is typically required to be GFCI-protected under the National Electrical Code; if yours isn't, have an electrician upgrade it before the machine arrives (osha.gov). Never plan to use an extension cord or a power strip, the cord must reach the outlet directly.
Check the Floor and Water Pressure
Floor stability matters more than most people realize. A washer on a second floor or over a crawl space transmits vibration through the joists, and a floor that flexes under load will amplify the shake. If you can feel the floor give when you walk across it, or if the joists run parallel to the direction the washer will face, consider a plywood base or vibration pads to spread the load. On a concrete slab, this is rarely an issue.
Water pressure is the other quiet failure point. Most washers fill properly with household pressure in the range of roughly 20 to 100 psi, and many manufacturers list a minimum inlet pressure in the manual (energy.gov). Very low pressure stretches fill times and can trigger error codes; very high pressure stresses the inlet hoses and valves. An inexpensive inline pressure gauge that screws onto a hose bib or laundry valve tells you where you stand before delivery day.
Tools Needed for Washer Installation: What to Have on Hand
The right tools turn a frustrating afternoon into a 45-minute job. Gather these before delivery day so nothing stalls the process. Most installers carry their own kit, but having your own on hand means you can handle a missing part, a stubborn connection, or a last-minute trip to the hardware store without losing the day.
The Core Tool Kit
- Adjustable wrench and pliers, for tightening the inlet hose couplings and the drain hose clamp. A wrench that fits the coupling flats beats pliers alone, which can round off soft brass fittings.
- Spirit level, for checking floor stability and confirming the machine sits level front-to-back and side-to-side. A 24-inch level is easier to read across the top of the washer than a short torpedo level.
- Teflon tape (PTFE thread seal tape), for sealing threaded water connections. Wrap it clockwise around the male threads, two to three turns, so it doesn't unravel when the coupling tightens.
- Bucket and old towels, for the residual water that drains out of the old hoses and the drain hose when you disconnect them. Even a well-drained machine holds a cup or two.
- Appliance dolly or furniture straps, for moving the old and new units safely. Washers are top-heavy and awkward; a dolly with a strap keeps the load from tipping on stairs.
- New hose washers, the rubber gaskets inside the inlet hose couplings. Reusing old, flattened washers is one of the most common causes of a slow drip at the connection.
- Replacement inlet hoses, if the existing hoses are more than a few years old or show any cracking, replace them. Braided stainless steel hoses resist bursting better than rubber.
- Vibration pads, if the washer sits on an upper floor or a wood subfloor, these reduce noise and keep the machine from walking.
Tools You Might Not Think Of
- A 4-in-1 screwdriver, for removing the shipping bolts and the access panel on some models. Shipping bolt locations vary by brand, and a screwdriver that fits the bolt head saves a trip to the toolbox.
- A small flashlight or headlamp, for reading the model and serial plate, checking the drain hose routing behind the machine, and inspecting the outlet.
- Painter's tape, for taping the drain hose to the standpipe so it can't jump out during the spin cycle, and for labeling the hot and cold supply lines before you disconnect them.
- A phone camera, not a tool you buy, but the single most useful prep step. Photograph the old hookups, the valve positions, and the drain routing before anything is disconnected.
What You Don't Need
You don't need a pipe wrench, a drain snake, or a full plumbing kit for a standard swap. You also don't need an extension cord, if the cord won't reach the outlet, the fix is a new outlet location or a longer cord from the manufacturer, not a power strip. And you don't need to buy a new drain hose unless the old one is cracked, kinked, or too short; most drain hoses are reusable if they're in good shape.
Preparing the Laundry Space Before Delivery Day
Clear the path completely. Remove anything blocking doorways, stairs, or the alcove, and take down doors if the frame is tight. A clear route protects both your walls and the machine.
Next, clean and inspect the floor. Washers vibrate, and a floor that isn't level or stable amplifies that movement. If you're placing the unit on a second floor, vibration pads reduce noise and shifting. Check that the drain hose can reach the standpipe or drain port without kinking, and confirm the electrical cord reaches the grounded outlet without an extension cord, which you should never use for a washer.
Removing the Old Washer and Planning Disposal
Disconnect the old unit only after the water supply valves are closed and confirmed. Start with the electrical cord, then the inlet hoses, then the drain hose. Expect residual water, so keep a bucket and towels ready.
An appliance dolly makes moving the old washer far safer than lifting it. Once it's out, plan disposal before the new unit arrives. Many municipalities offer curbside bulk pickup by appointment, and retailers often haul away old appliances during delivery. Many municipalities offer curbside bulk pickup by appointment, and retailers often haul away old appliances during delivery. Ask about haul-away when scheduling so the old washer leaves the same day the new one arrives.
How Long Does It Take to Install a Washing Machine?
A straightforward washing machine installation takes about 45 minutes to an hour once the unit is in place. The bulk of that time goes to connecting the inlet hoses, attaching the drain hose, leveling the machine, and running a leak test.
Add time for the parts people forget. Removing shipping bolts, which lock the drum during transit, takes a few minutes and is mandatory before the first wash. If you skip it, the drum can bang violently and damage the machine. Leveling with a spirit level and adjusting the leveling legs can take another 10 to 15 minutes on an uneven floor. A leak test after the first fill adds a few minutes but catches loose connections before they become a problem.
Common Washer Installation Mistakes to Avoid
Most installation failures trace back to a handful of repeatable errors. Here's what to watch for.
| Mistake | Consequence | Fix |
|---|---|---|
| Leaving shipping bolts in | Drum damage, violent shaking | Remove all bolts before first use |
| Skipping the leak test | Water damage, mold | Run a cycle and check connections |
| Ignoring the spirit level | Excess vibration, noise | Adjust leveling legs until level |
| Reusing old hose washers | Leaks at connections | Install fresh washers |
| Kinking the drain hose | Poor drainage, backups | Route the hose without sharp bends |
| Using an extension cord | Overheating, fire risk | Plug directly into a grounded outlet |
Two more mistakes deserve mention. Forgetting the anti-siphon clip on the drain hose causes water to siphon back into the machine, and failing to confirm the drain hose height leads to the same problem. Taking ten minutes to double-check these details saves hours of troubleshooting.
Frequently Asked Questions
What plumbing and electrical requirements are needed for a new washer?
Your laundry area needs hot and cold water supply valves with standard hose threads, a standpipe or drain port that sits at least 30 inches above the floor, and a properly grounded outlet on its own circuit. Check that shut-off valves turn freely and that the drain can handle the washer's pump rate. If any of these are missing or damaged, fix them before delivery day so installation does not stall.
Do I need to clear a path for appliance delivery?
Yes. Measure every doorway, hallway turn, and stairwell the washer must pass through, then compare those numbers to the washer's depth and width plus a few inches of clearance. Move furniture, rugs, and low-hanging fixtures out of the route. Clear the final alcove completely, including detergent bottles and shelving, so the delivery crew can slide the unit straight into position without scraping walls or flooring.
Is it hard to install a washing machine yourself?
Most homeowners can handle a washer installation in an afternoon if the plumbing and electrical hookups already exist. The tricky parts are removing shipping bolts, leveling the drum, and tightening hose connections without cross-threading. If you need new supply valves soldered in or a new 240-volt outlet run, hire a licensed plumber or electrician. Otherwise, a wrench, pliers, spirit level, and the installation manual cover most of the job.
What are common washer installation mistakes?
The most frequent mistakes include leaving shipping bolts in the drum, which causes violent shaking and can damage the machine; forgetting hose washers, which leads to leaks at the inlet hoses; skipping the leveling step, which makes the washer walk across the floor; and overtightening plastic inlet connections until they crack. Running a short leak test cycle before pushing the washer into its final spot catches most of these problems early.
Washing machine installation rewards preparation, and the steps that matter most happen before the truck ever arrives. Fast Appliances LLC makes that preparation easier with a wide variety of washers and other essential home appliances, convenient online ordering, and home delivery right to your door. When you're ready to replace a failed unit or outfit a new laundry room, get started with Fast Appliances LLC and take the guesswork out of delivery day.